Many ESXi installations are running on SD Cards or flash drives. In my opinion, it's a good practice. The hypervisor itself requires about 150MB, and the full installation on a SD Card is less than 1GB, without diagnostic partitions. VMware recommends using a 4GB or larger USB/SD device. When you want to install ESXi and you don't use auto-deploy, install servers or other automation tools you typically have to mount an ESXi ISO file to your server management system (iLO, iDRAC,...) or work with a physical installation media. This is somewhat slow and uncomfortable, but there is a little trick to make the installation faster.
You can prepare the USB/SD device with the ESXi installer, plug it into your server and install it to the device itself by overwriting the installer. You can also use customized installers when your hardware requires special drivers.
- Download Rufus
- Download or create an ESXi .iso Image. You can also use pre-customized Images (HP, Dell, IBM,...) or self-created Images (Intel NUC, Gigabyte Brix,...).
- Connect the USB/SD device to your computer
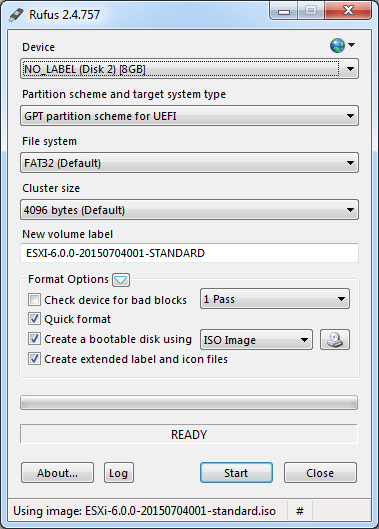
- Open Rufus
- Select your Device
- Select your ISO Imagae
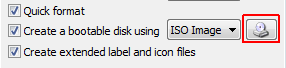
- Press Start
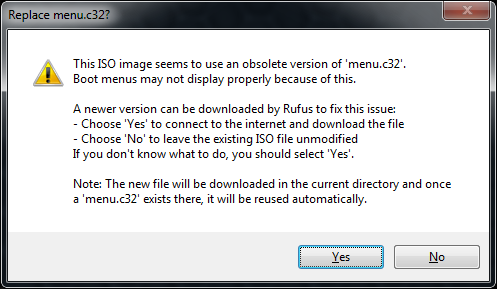
- Select Yes when it asks to replace menu.c32.
- Rufus will now create your bootable ESXi Installer USB Flash Drive.
- Disconnect the USB/SD device from your computer and connect it to your server where you want to install ESXi
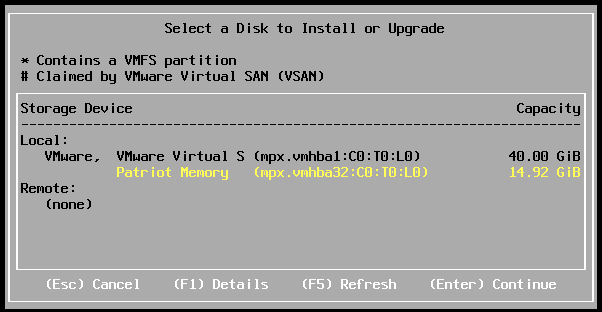
- Boot the server from the USB Flash Drive and select the same device during the installation. (It's actually possible because the installer is loaded to the memory, so the original device is no longer required for the installation)
- Finish the installer.
If you want to go a step further, you can fully automate the installation by placing a kickstart file on the USB/SD device.
- Follow step 1-9 from the guide above.
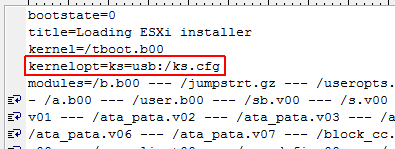
- Navigate to the Flash Drive and open boot.cfg with an editor. Make sure to use an editor that can handle UNIX encoding.

- Replace kernelopt=runweasel with kernelopt=ks=usb:/ks.cfg
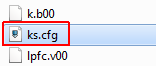
- Create ks.cfg in the root directory of your Flash Drive
- Open ks.cfg with an editor. And copy this to your ks.cfg file:
vmaccepteula
rootpw vmware
install --firstdisk=usb-storage --overwritevmfs
network --bootproto=dhcp --device=vmnic0
reboot
- Save and close
- Disconnect the USB/SD device from your computer and connect it to your server where you want to install ESXi.
- Boot the server from the USB/SD device. It should now automatically install ESXi and boot with a DHCP enabled network interface. The password for the root user is set to "vmware".
NOTE: You MUST have a password > 8 chars for ESXi 6! I tried followed this guide and it didn't work until I increased my password length.