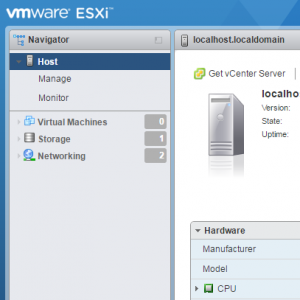
 The new HTML5 based VMware Host Client for managing ESXi host is finally available with the latest release vSphere 6.0 Update 2. I'm not sure if the most memorable name is "ESXi Embedded Host Client", "EHC", "esx-ui" or "VMware Host Client". However, the new client is a great alternative to the C# VMware vSphere Client aka. "Fat Client", or any other existing ESXi configuration solutions.
In this post I am going through the full configuration of an ESXi Host to see if the VMware Host Client can replace the C# Client for configuring and managing Standalone ESXi Hosts.
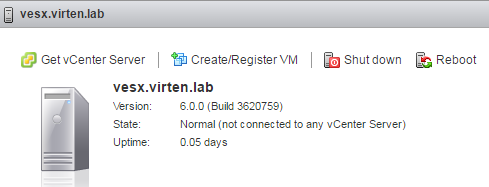
I've deployed an ESXi 6.0 U2 (Build 3620759) without any configuration to do a full configuration with the VMware Host Client. The ESXi has a blank root password and gets the IP configuration from a DHCP server. The esx-ui is available at https://[IP-Address]/ui/
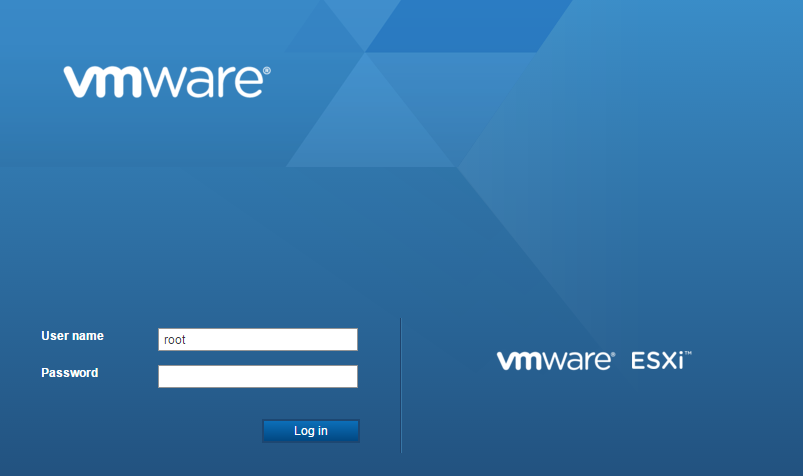
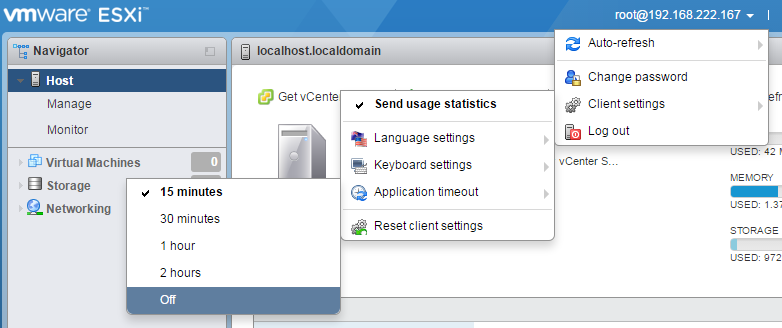
Login without the root user and no password is possible (Of course, this does not work when root has a password). The host client has a default application timeout of 15 minutes. That is good for security, but I don't like to get logged out automatically. Luckily, the timeout can be completely disabled:
User > Client Settings > Application Timeout > Off
The first configuration, typically already done in the DCUI, is the network configuration. To configure a static IP address navigate to Networking > VMkernel NICs > vmk0 > Edit settings and change vmk0 to a static IPv4 address.

Little gotcha here: The vmk0 configuration is separated from the TCP/IP stack configuration, which means that you can't change the IP address and default gateway at the same time. This might be a problem in some situations, but you can easily avoid that by creating a new vmkernel Port, or changing the network configuration in the DCUI.
The next step is the DNS configuration which is part of the TCP/IP stack configuration. To change DNS settings navigate to Networking > TCP/IP stacks > Default TCP/IP stack > Edit settings
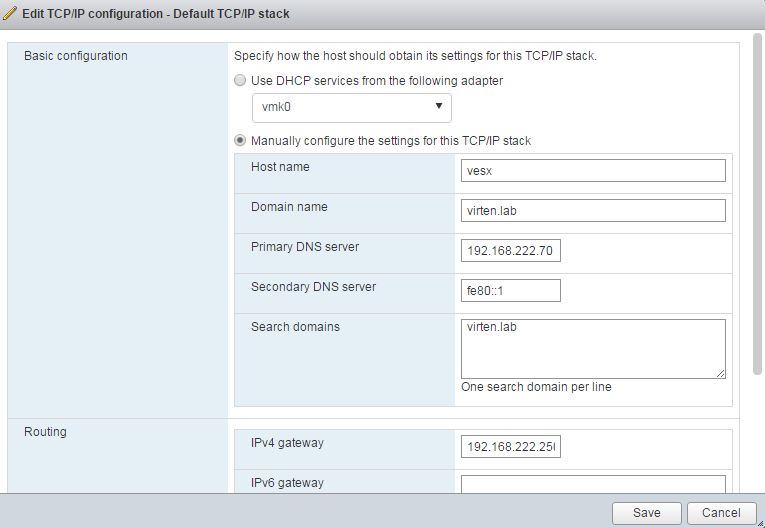
All changes are instantly active:
To add additional Datastores navigate to Storage > Devices > New datastore

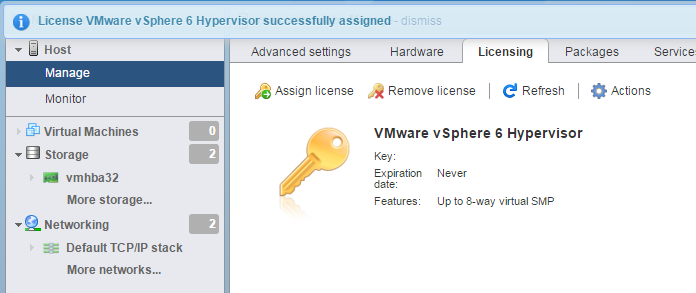
The ESXi host is in 60-day Evaluation mode and needs a license. For standalone hosts, the Free ESXi License is fine. The license key can be added in Host > Manage > Licensing > Assign license
I use SSH on ESXi Hosts very often, so it is typically enabled everywhere. To activate SSH select Host > Actions > Services > Enable Secure Shell (SSH)

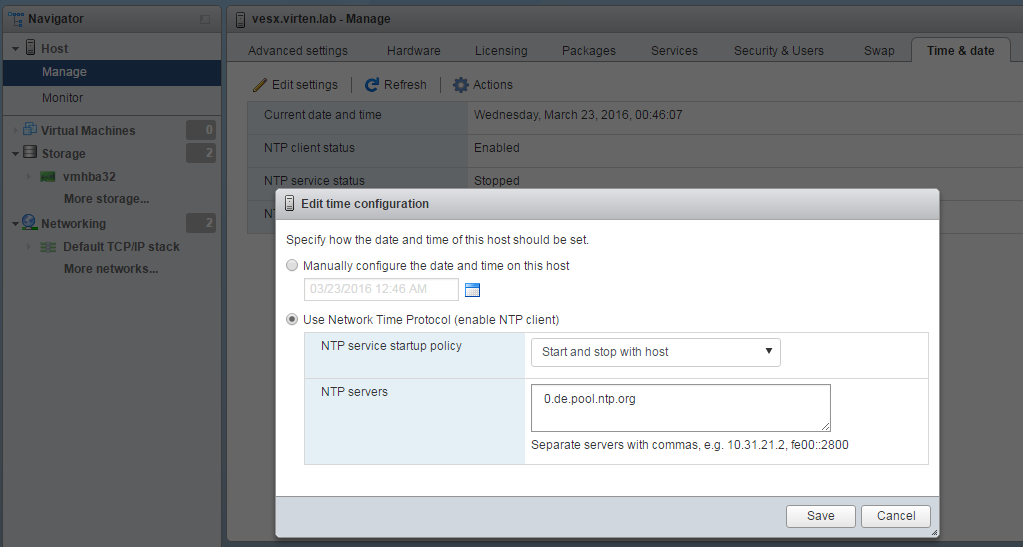
Configure NTP for time synchronisation is a mandatory task. To activate NTP and define servers navigate to Host > Manage > Time & date > Edit settings
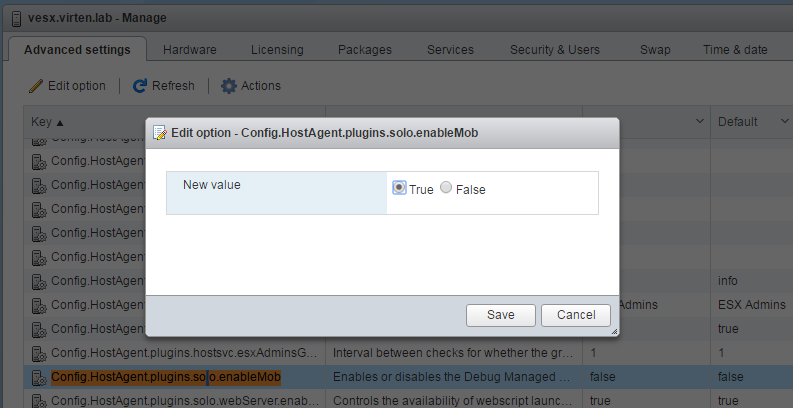
For scripting I use the MOB (Managed Object Browser) very often. As you might be aware, the MOB is disabled by default in vSphere 6.0. When you open the MOB on ESXi Hosts, an error message is displayed: "503 Service Unavailable (Failed to connect to endpoint: [N7Vmacore4Http20NamedPipeServiceSpecE:0x369058a8] _serverNamespace = /mob _isRedirect = false _pipeName =/var/run/vmware/proxy-mob)"
The Host Client supports Advanced Settings, which allows to reactivate the MOB. Navigate to Host > Manage > Advanced settings search for the Key Config.HostAgent.plugins.solo.enableMob and set the value to True.
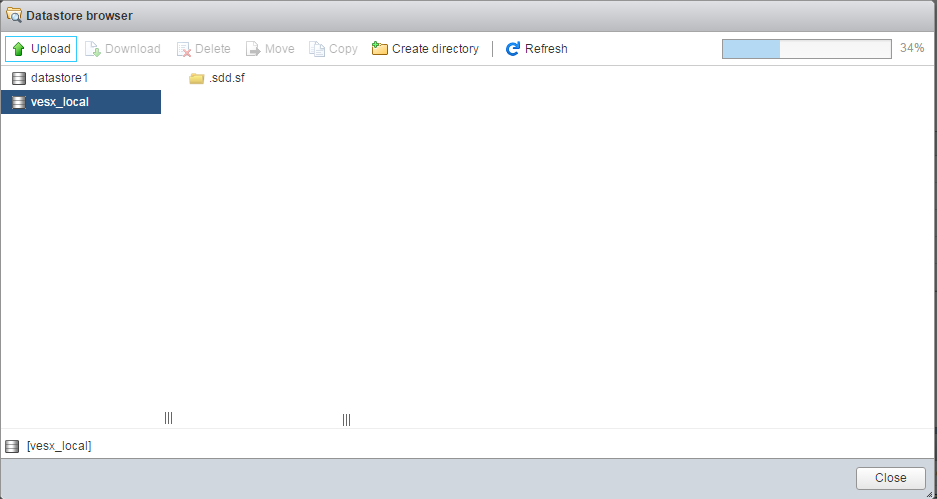
Now it's time to install the first Virtual Machine. To upload the Operating System ISO to the Datastore open the Datastore browser and browse for the file. The upload works without the requirement to install plugins.
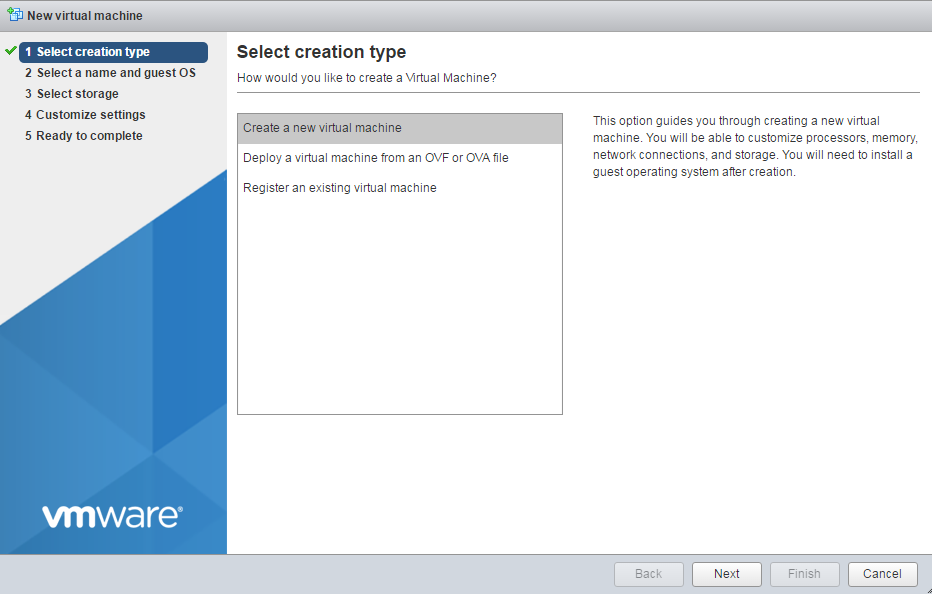
Back to the Home Screen, select Create/Register VM and finish the Wizard.
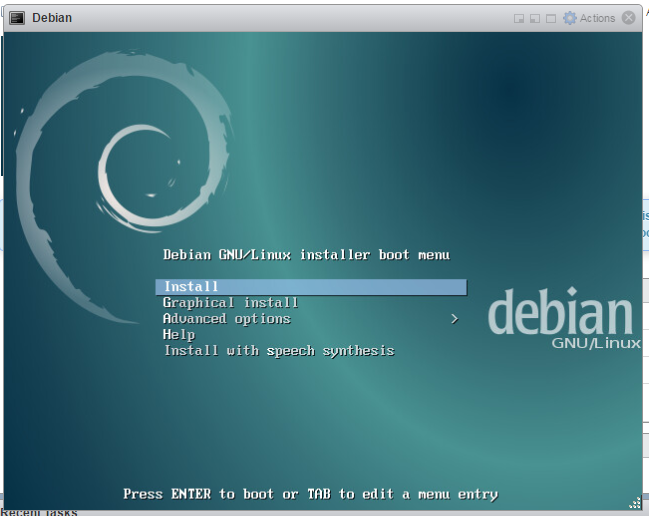
The Console works very well. You can use an embedded console, or connect with VMRC.
That's it. The new HTML5 based Host Client works very well and it is a good and quick alternative to the vSphere Client. It can be used with Android-based mobile devices and full ESXi configuration is possible. The only feature that I am missing at the moment is User Management.
I agree. It's awesome. The feature I would like to see, is hardware status like the C# client. In the Web client, you can see all of the hardware, but you have to click into each one to see status. Like fans, HDD's, etc.
Pingback: Newsletter: March 26, 2016 | Notes from MWhite