The vCenter Server has an internal user database that allows you to add and manage users very easily. Users management and Single Sign-On is provided by the embedded Platform Service Controller which is available since vSphere 6.0. In a large environment, you might want to connect your virtualization infrastructure to a centrally manage Active Directory.
This article explains how to add AD authentication in vSphere 7.0 and how to get the "Use Windows session authentication" checkbox to work with the "Enhanced Authentication Plugin".
- If you want to use LDAPs, see this article for preparation.
- Open vSphere Client
- Login as Single Sign-On Administrator (Password set during installation)
- Navigate to Menu > Administration > Single Sign-On > Configuration
- In the Identity Provider tab, open Identity Sources
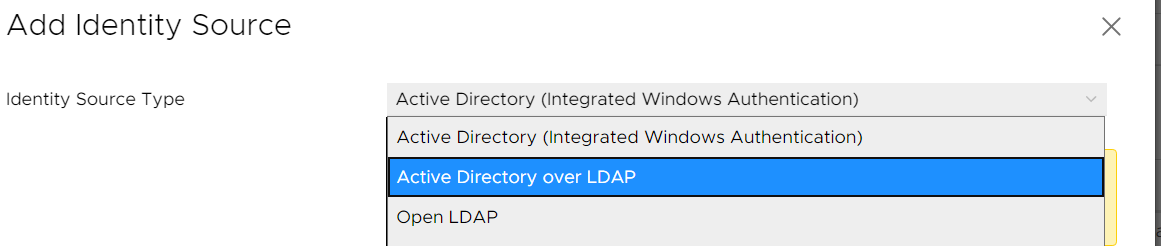
- Click ADD

- If the underlying system is not part of the Active Directory domain, change the Identity Source Type to Active Directory over LDAP
(If you want to use Integrated Windows Authentication, follow the link to Active Directory Domain page to join the node to an Active Directory domain. If the vCenter is joined and the sources added, no further configuration is required.)
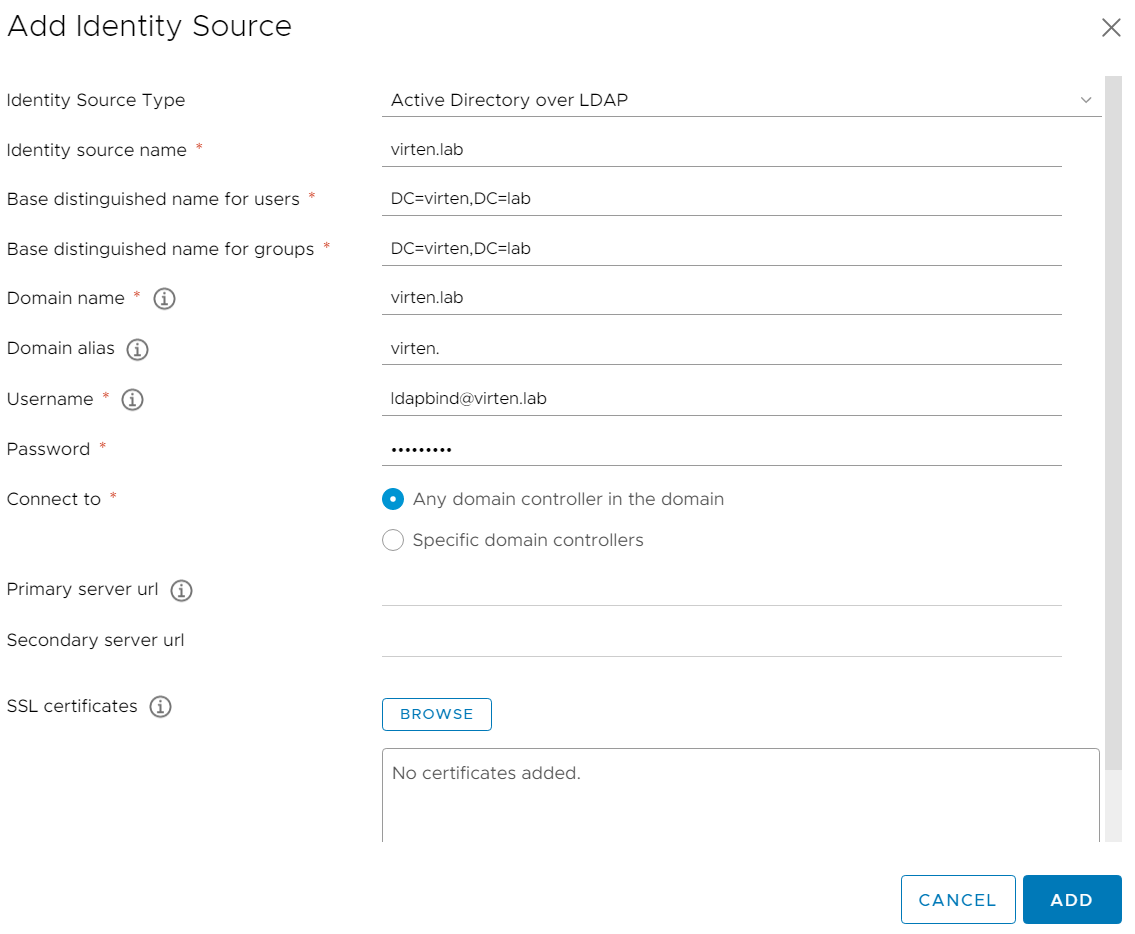
- Fill out the remaining fields as follows:
Identity Source Name: Label for identification
Base DN for users: The Distinguished Name (DN) of the starting point for directory server searches. Example: If your domain name is virten.lab the DN for the entire directory is "DC=virten,DC=lab".
Base DN for groups: The Distinguished Name (DN) of the starting point for directory server searches.
Domain name: Your domain name. Example: "virten.lab"
Domain alias: Your NetBIOS name. Example: "virten"
Username: Domain user with at least browse privileges. Example: "ldapbind@virten.lab"
Connect to: Select "Connect to any domain controller in the domain" of you want to use DNS to identify domain controllers or configure static primary and secondary URLs. When using static entries, you can either query the local directory (Port 389), or the global catalog (Port 3268).
Example: "ldap://dc01.virten.lab:3268".
- Click ADD and finish the configuration wizard
- Back at Identity Sources your AD should appear in the list and from now on you are able to assign vCenter permissions to users and groups from your active directory.
- Select your Active Directory and click the SET AS DEFAULT button to make it to your vCenters default domain for authentication which means that everyone who does not specify the domain name to log in gets automatically authenticated against this domain.
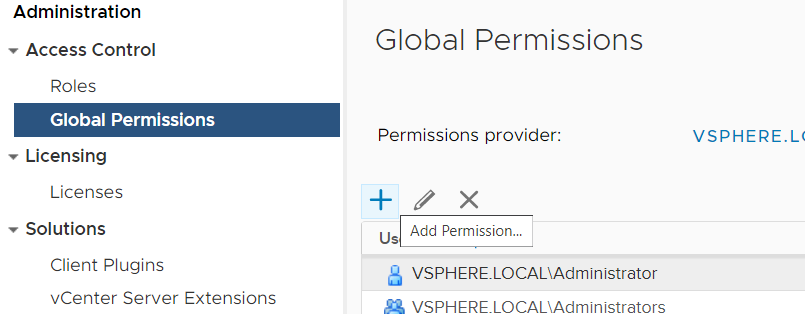
- To log in with AD users, you have to set permissions. To add an AD User/Group as Global Administrator navigate to Administration > Access Control > Global Permissions
- Click Add permission
- Select the domain and start typing in the User/Group search field to select a Domain entity.
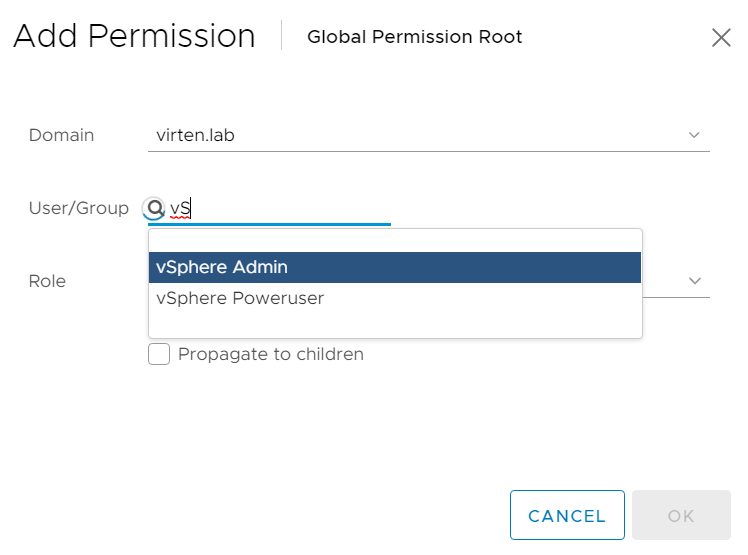
- Press OK
You should now be able to login with your Active Directory account.
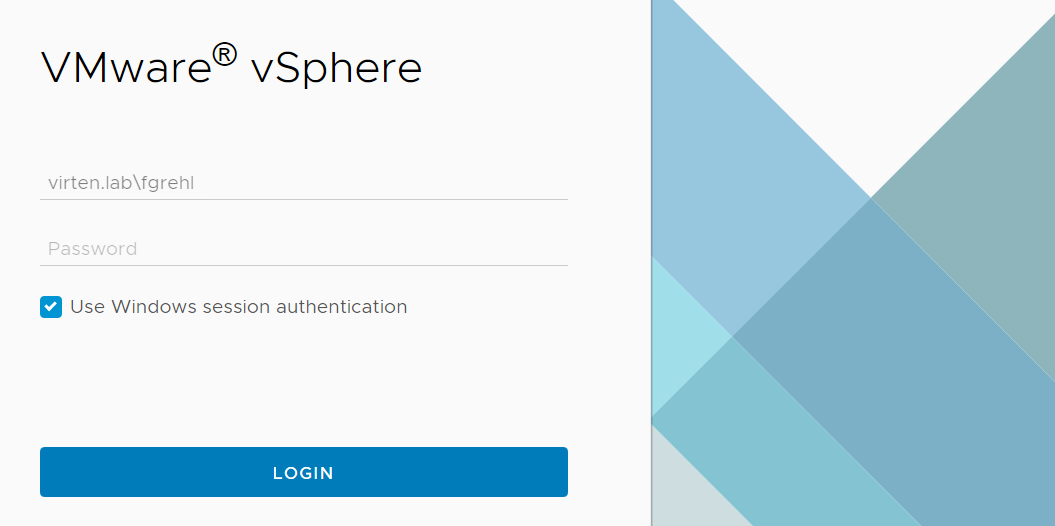
Use Windows session authentication
The "Use Windows session authentication" checkbox is disabled unless the Enhanced Authentication Plugin is installed. You can find the download link at the bottom of the login screen.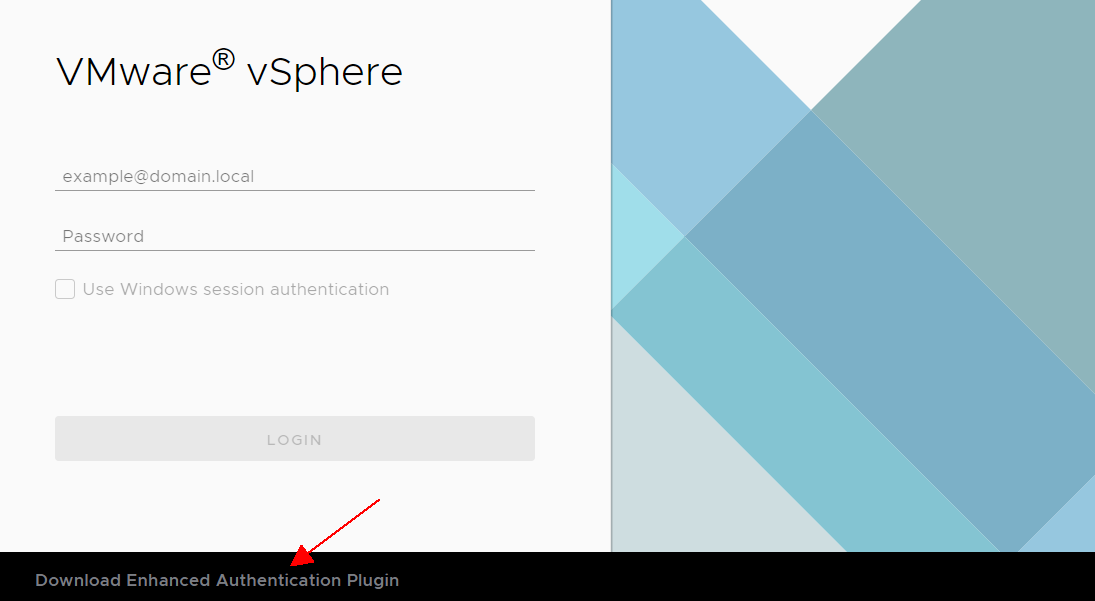 Do not worry that the VMware Enhanced Authentication Plugin versioned "6.7". It will work with vSphere 7.0 too. After plugin installation, you should see a popup when opening the vSphere Login screen. Allow the application by pressing "open vmware-cip-launcher.exe".
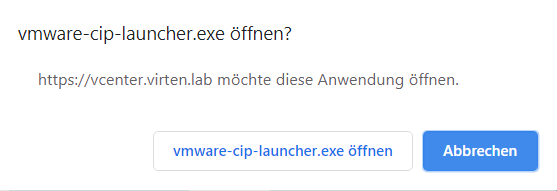
Did you try ldaps? because microsoft will not support ldap in future.
So true. I always forget LDAPS. See here.
This doesn't work in our environment. We have demonstrable access via LDP.exe but vcenter just returns
Cannot configure identity source due to Failed to probe provider connectivity [URI: ldaps://xxx.xxx.xxx.xxx:636 ]; tenantName [vsphere.local], userName [yale_inv\ldap_vcserv7] Caused by: Can't contact LDAP server.
The destination ldap servers can be pinged from the vsphere host. Is there anymore elaborate troubleshooting that can be done? Packets definitely reach the ldap server .... but they are encrypted :-)
Hello Friend
did you get answer for this
Great guide. One additional note, step 14 - If you add a group, be sure to "Propagate to children" otherwise the users in the group will not be able to access the resources. Login will still function, but you get a message stating that you do not have access to the resources.
You need to add an SSL cert to Domain Controllers to enable connectivity over port 636