This article explains how to configure LDAPS authentication in vCenter 7.0.
- Connect to the vCenter Server Appliance with SSH and login as root.
- Run the following command to show the LDAP certificate
# openssl s_client -connect dc.virten.lab:636 -showcerts
- The command displays the certificate chain and SSL session information. The information we are looking for is the topmost certificate:
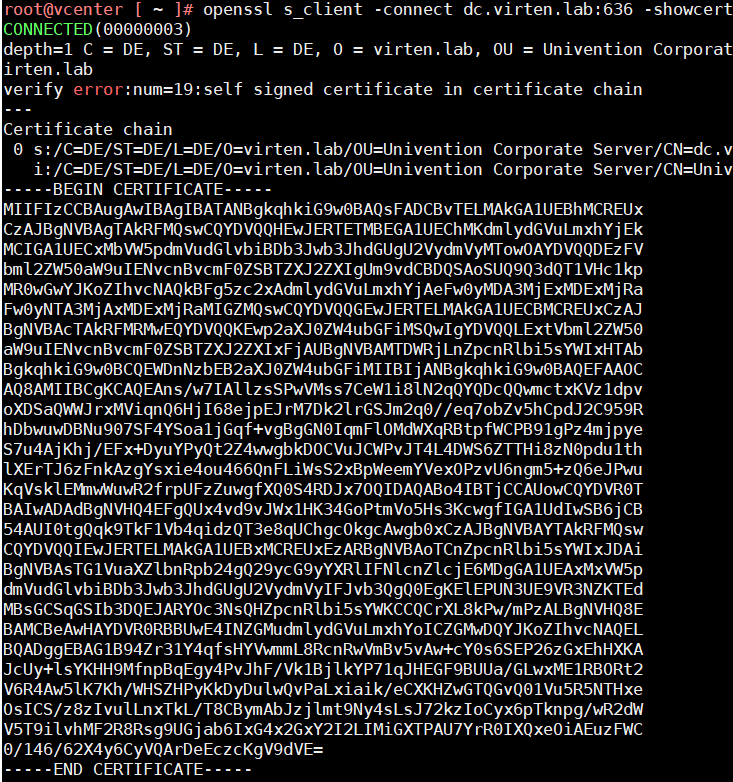
- Copy everything between (and including) -----BEGIN CERTIFICATE----- and -----END CERTIFICATE----- and copy it to a text file.
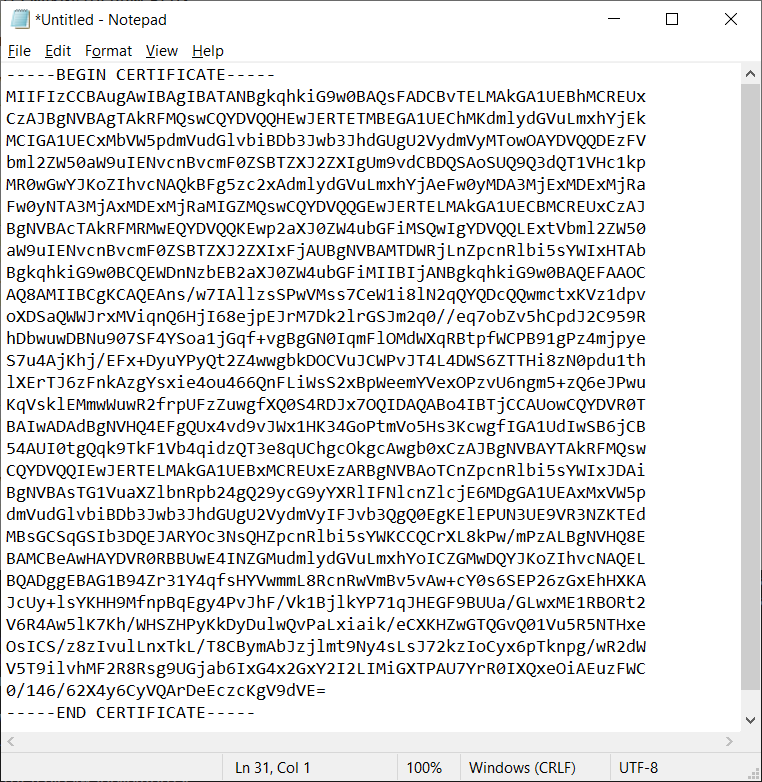
- Save the file with a .cer extension.
- Open vSphere Client
- Login as Single Sign-On Administrator
- Navigate to Menu > Administration > Single Sign-On > Configuration
- In the Identity Provider tab, open Identity Sources
- Click ADD
- Select Active Directory over LDAP or OpenLDAP, depending on your directory type.
- Fill out the remaining fields as follows:
Identity Source Name: Label for identification
Base DN for users: The Distinguished Name (DN) of the starting point for directory server searches. Example: If your domain name is virten.lab the DN for the entire directory is "DC=virten,DC=lab".
Base DN for groups: The Distinguished Name (DN) of the starting point for directory server searches.
Domain name: Your domain name. Example: "virten.lab"
Domain alias: Your NetBIOS name. Example: "virten"
Username: Domain user with at least browse privileges. Example: "ldapbind@virten.lab".
If you get an "User XXX is not a valid dn format", try using the DN "uid=ldapbind,cn=users,dc=virten,dc=lab"
Connect to: Either connect to port 636 (LDAP) or 3269 (Global Catalog).
Example: "ldap://dc01.virten.lab:636". - Click Browse next to SSL Certificate
- Select the .cer file created in step 5.
- Click ADD and finish the configuration wizard
From here, you can proceed and add users as explained here.
It is a requirement to have a certificate on each domain controller to enable LDAPS. For customers that have their own private CA used to generate those certificates, is there a way to upload the CA's certificate to a trusted CA store in vcenter so that you do not have to go through exporting the certificates for each domain controller used in the Identity Source and update the certificates there every time they rotate?
I'd love to know the answer to this question also!
You can simply use the chain before the server certificate itself to enable trust. You are not required to have the server certificate in the configuration (unlike NSX-T). E.g. upload both the BASE64 encoded Root CA certificate and the BASE64 encoded Intermediate CA to the configuration dialog and all issued certificates of the Root and Intermediate CA are trusted for LDAPS.
There is also a extra option Certificate Management (above SSO Settings)
where you can upload (and even distribute to the ESXi Hosts) Root Certificates to the vCenter Server.
When the DC-Certs are issued by that CA they are trusted and you don't have to upload any Server Certs in the Identity Wizard at all.
As a note I had to put ldaps://my.domain.contoller:636 instead of ldap://my.domain.controller:636 in the connect to field.
Yes. Port 363 is for unsecured LDAP. LDAPS uses port 636.
followed this and works fine with one small issue:
permission errors when i try to login. Unable to login because you do not have permission on any vCenter Server systems connected to this client
permissions show me as domain\username
in order to fix this i need to re add myself but now it shows me as domain.com\username so it needs the fqdn.
at another site, i configured ldaps the same way and no issues. So is this a misconfig on the domain/dns side?