 This is Part 2 of my "VMware vSphere with Kubernetes" Guide. In the last article, I've explained how to get "Workload Management" enabled in a vSphere cluster. At this point, the cluster is successfully enabled to support Kubernetes, but what's next? Before I start to deploy the first container I'm going to enable additional services, create a Kubernetes Namespace in the Supervisor Cluster, and explore the deployed components in vCenter and NSX-T.
Enable Harbor Registry
To deploy containers, your environment needs access to an Image Registry. The default registry that is already preconfigured in Kubernetes is Docker Hub. You can deploy container images from Docker Hub without having a local registry. If you want to build your own Docker containers, you can simply activate the embedded Harbor Registry. Harbor is an open-source Image Registry.
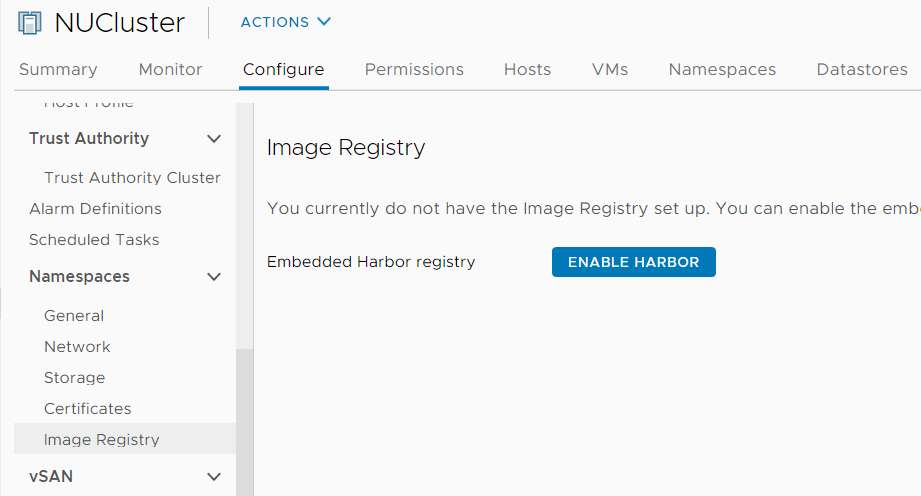
Open the vSphere Client and navigate to Host and Clusters > Cluster > Configure > Namespaces > Image Registry and click ENABLE HARBOR.
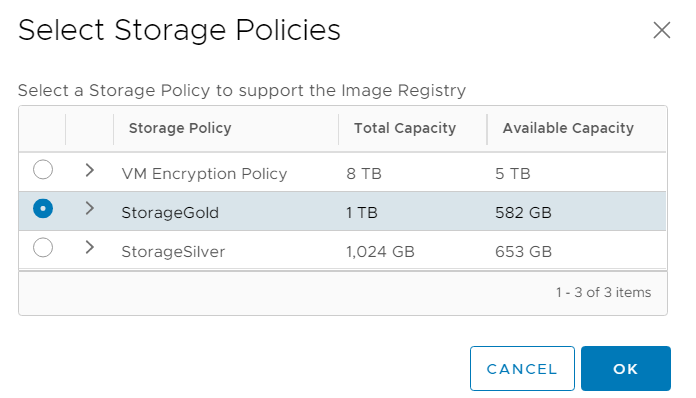
Select a Storage Policy to be used for images and press OK.
No further configuration is required. The deployment takes about 5 minutes. The WCP (Workload Control Plane) will create a new namespace (vmware-system-registry), deploy a bunch of containers, and configure everything automatically. Harbor will be available on your network with an IP address from your clusters "Ingress CIDRs". When the deployment is finished, you can see a Link to the Harbor UI.
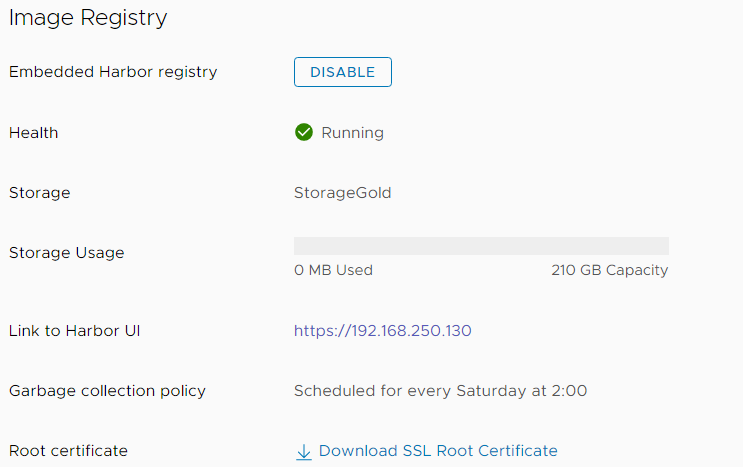
Harbor uses a certificate signed by your vCenters CA. I highly recommend adding the vCenters root certificate to your trusted root store. You can download the Cert by pressing "Download SSL Root Certificate", or use the method described here.
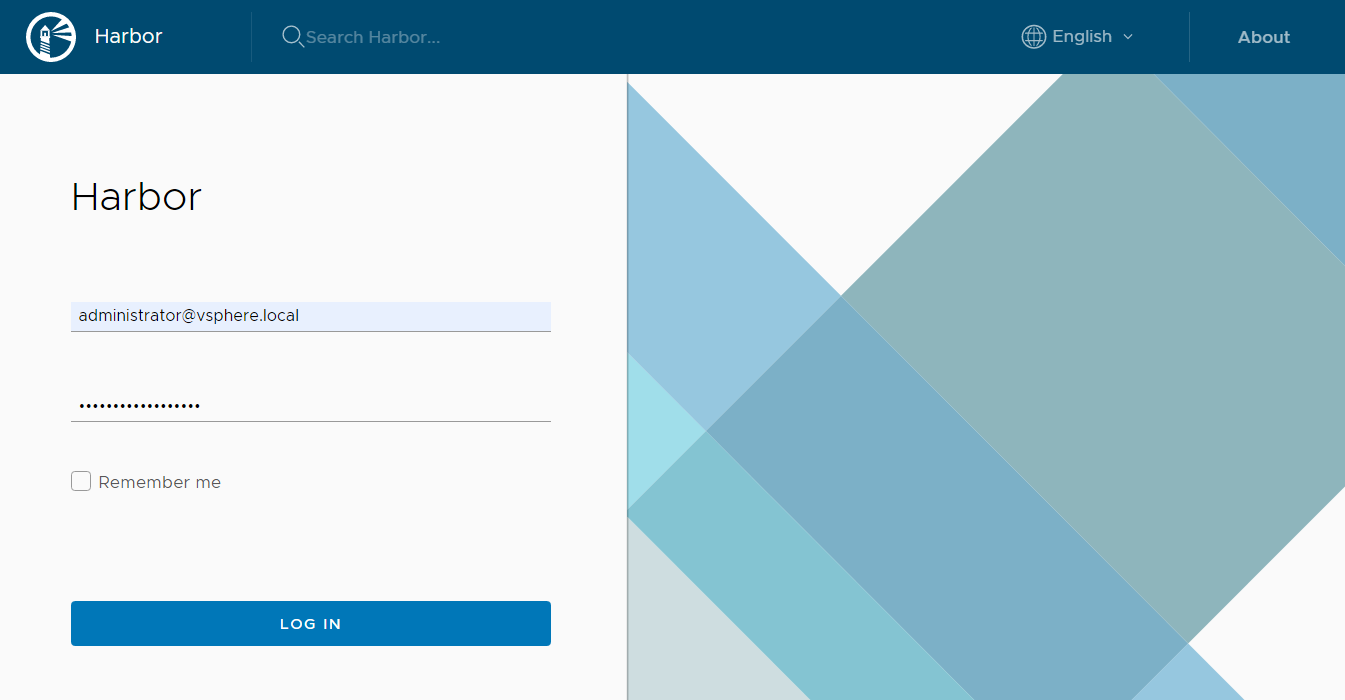
At this point, you should verify that you can access and log in to Harbor. Click the Link to Harbor UI and log in with your vCenter credentials:
Create a Namespace
Kubernetes supports virtual clusters backed by the same physical cluster. These virtual clusters are called namespaces. The Kubernetes Cluster you have created by enabling Workload Management in your vSphere Cluster is called "Supervisor Cluster". You can deploy Pods directly to a Namespace in the Supervisor Cluster, or use it to deploy a fully-featured "Tanzu Kubernetes Cluster". More on TKC later. When you have enabled Harbor, it will also automatically create a Harbor project named after your namespace.
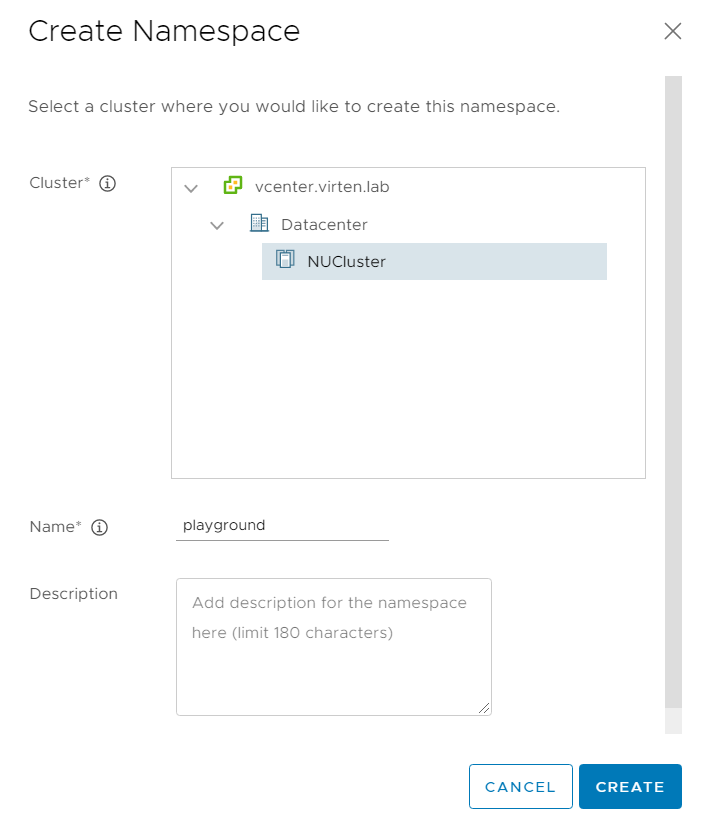
To get started, open the vSphere Client, navigate to Menu > Workload Management, and click NEW NAMESPACE.
Select the Cluster and give the namespace a DNS compliant name:
- Alphanumeric (a-z and 0-9) string with a maximum length of 63 characters
- '-' character allowed anywhere except the first or last character
- Must be unique across all namespace enabled clusters within a vCenter
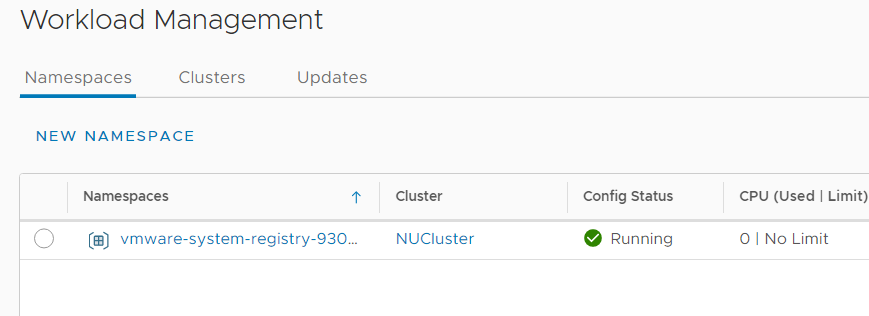
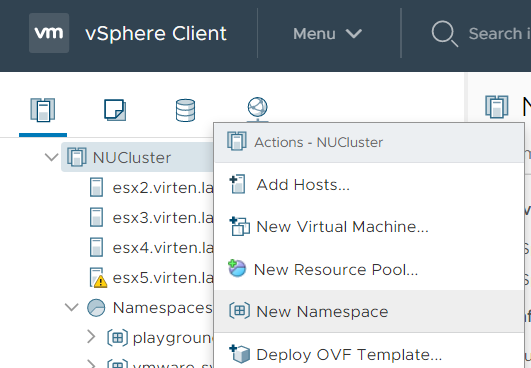
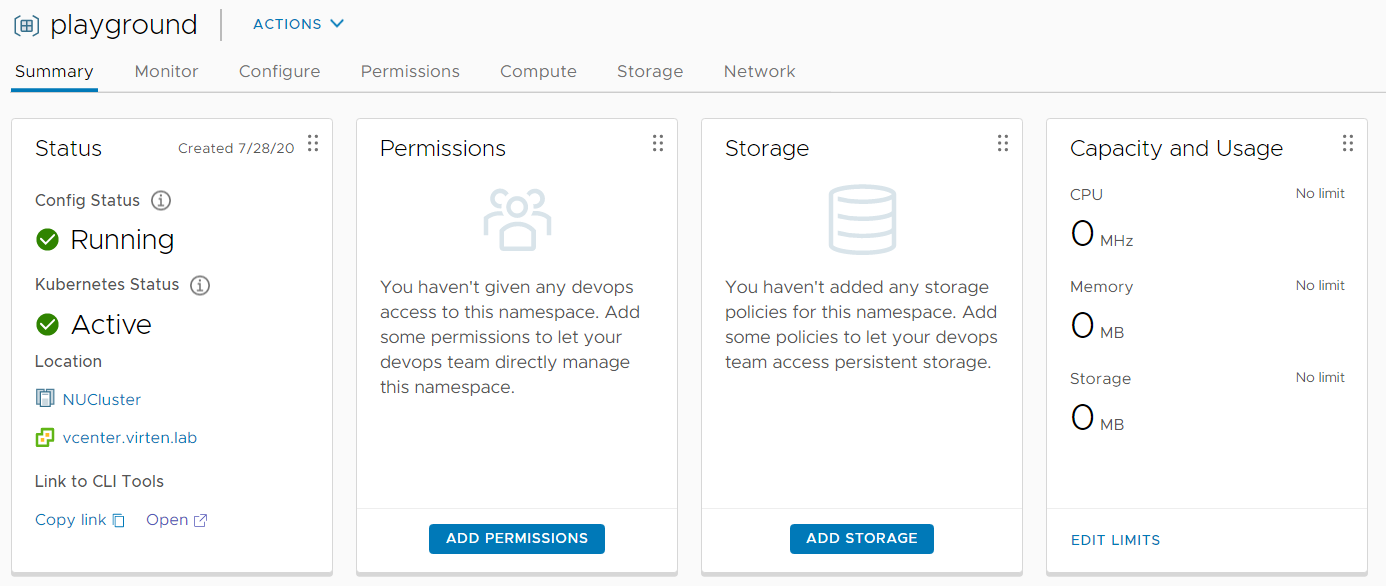
You should end up in the namespace directly after pressing CREATE. If you want to access it later you can either use the "Workload Management" view or the "Host and Clusters" view in the vSphere Client. Namespaces can also be created in both views:
Be aware that the vSphere Client is only used to create namespaces and configure basic settings like permissions, storage, and CPU/Memory Quotas. Everything else is just Read-Only. You can't deploy containers with the vSphere Client for example.
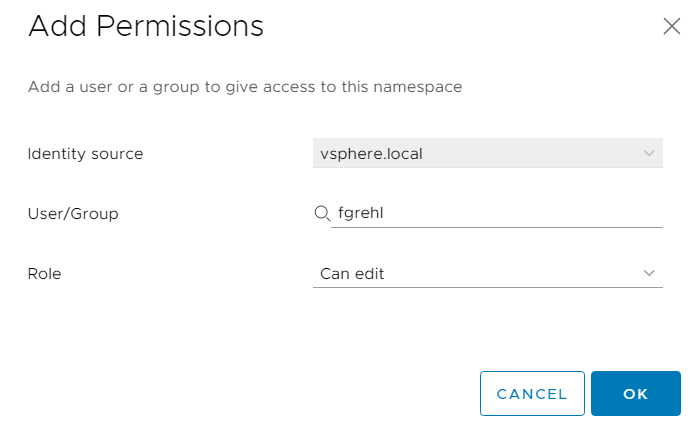
Kubernetes uses vCenter SSO for authentication. The Administrator Group already has access. If you want to add additional permissions, press "ADD PERMISSIONS" and assign users the "View" or "Edit" role.
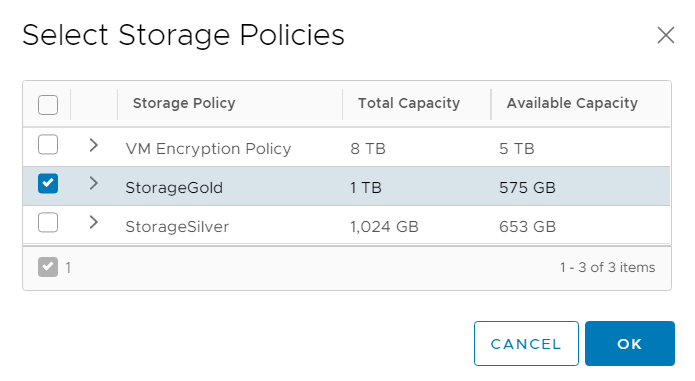
Press "Add Storage" and assign a Storage Policy to this namespace.
That's it from the vSphere Client. Everything else is done with the command line tool kubectl. You can find a link where you can download kubectl and other CLI tools on the namespace summary page. Follow the Open link.
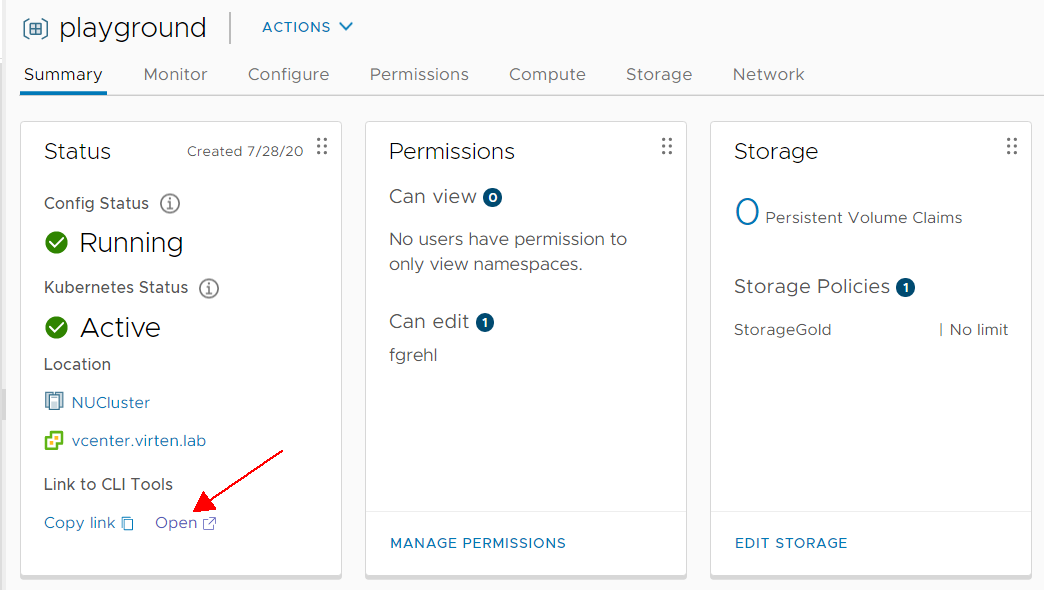
You should see the following page:

At this point, the vCenter configuration is finished. Prior to get kubectl ready to deploy the first Pod, I'm going to take some time to explore the components configured until this step.
Explore Kubernetes Components
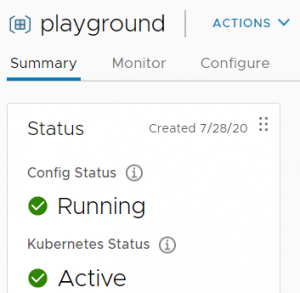
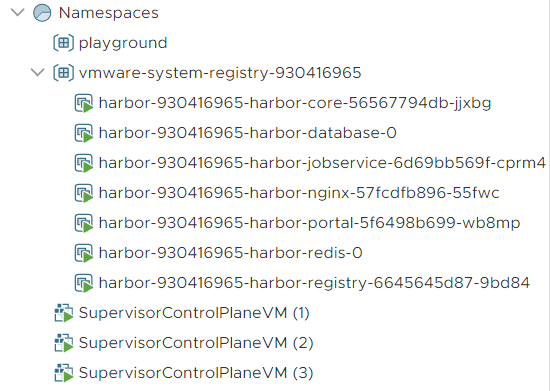
In the vSphere Client (Host and Cluster View) you can see that is has created a Resources Pool containing namespaces (playground and vmware-system-registry), 7 Pods (Harbor Registry created earlier) and 3 Supervisor Control plane VMs. The Control Plane VMs are managing the Supervisor Cluster and these are the endpoints where you connect to when working with kubectl. These VMs are also running plenty of containers that you can't see from the vSphere Client.
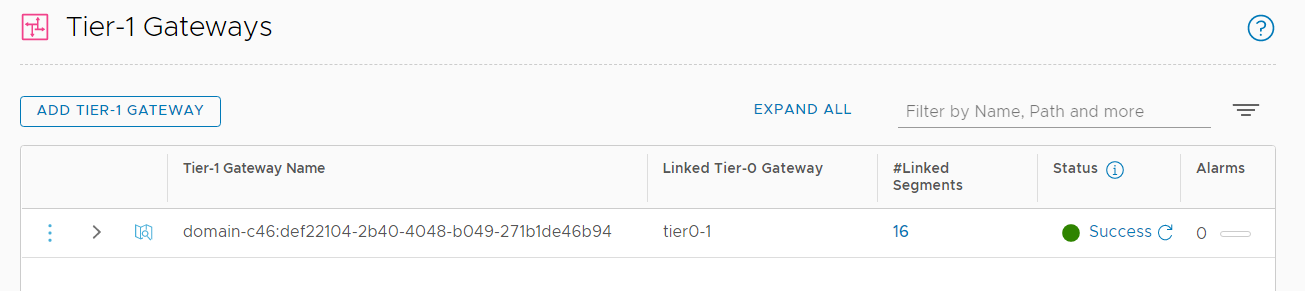
That's it from the vSphere Client. Much more has happened in NSX-T. During the initial configuration, a new Tier-1 Gateway has been created and auto-plumbed to the preconfigured Tier-0.
Including the Harbor registry, there are already 16 segments connected to the Tier-1 Gateway. Theses segments are Kubernetes Pod Networks that get their IP addresses from the initially configured Pod CIDR range (default: 10.244.0.0/21). As you can see from the Subnets column, each deployment gets an /28 network, so you can have 128 subnets with 16 hosts in each.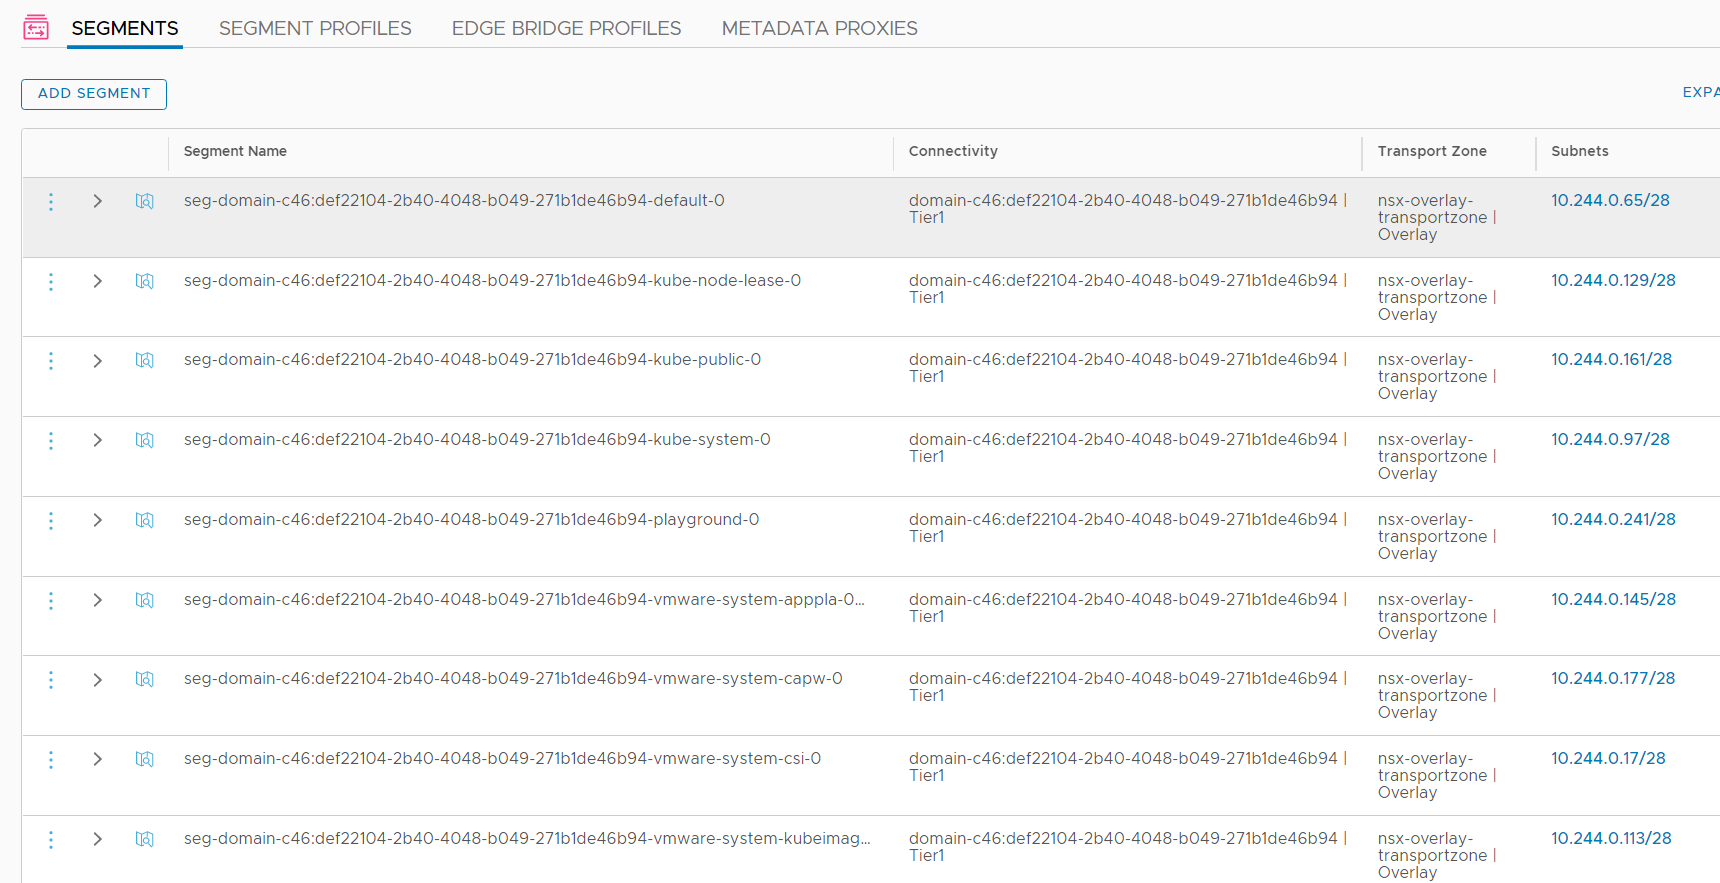
You can only see segment ports from pods that are running in the Supervisor Cluster. Pods running on the three Supervisor Control Plane VMs are do not have segment ports. The following ports are from the Harbor Registry, which is the first deployment on the Supervisor Cluster.

For external communication, Kubernetes uses NAT. Each POD Network (/28 from 10.244.0.0/21) is translated to an IP Address from the Egress CIDR range, configured during the initial setup.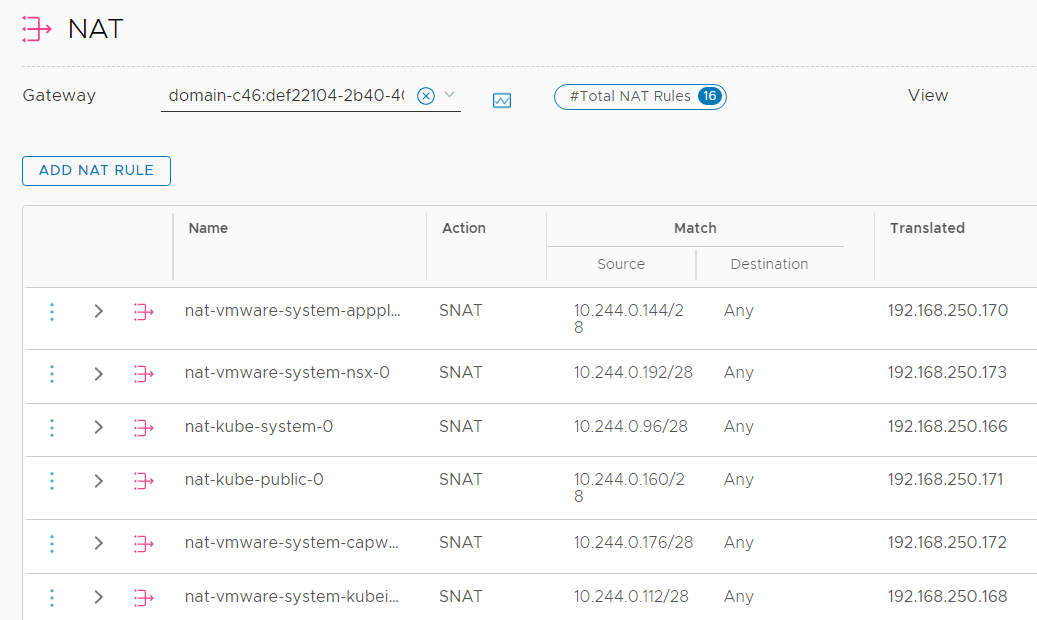
To make services running in Pods available, Kubernetes uses NSX-T Load Balancers. There are two types of Load Balancers: "Distributed Load Balancer", which is a special load balancer that is only supported for vSphere integrated Kubernetes installations, and normal "Server Load Balancer".
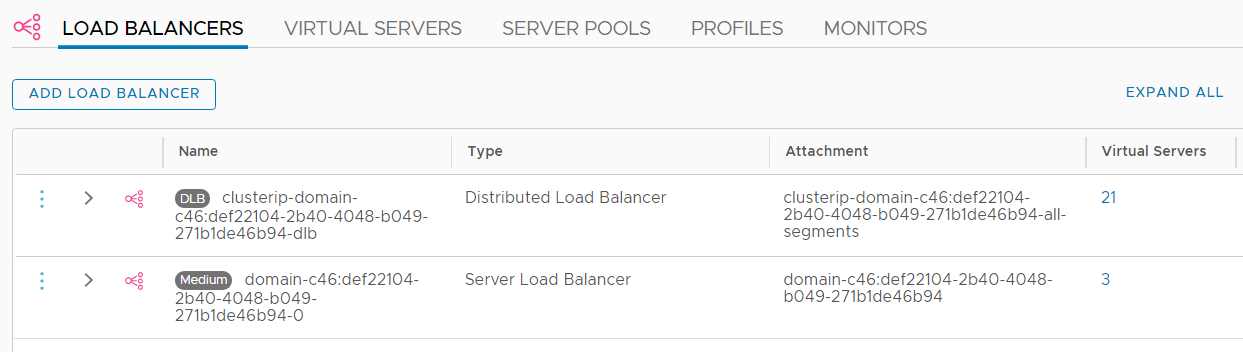
Distributed Load Balancers are used for inter-pod communication. They are using Virtual Servers with IP Addresses from the Service CIDR range (default: 10.96.0.0/24). Only internal communication is possible, these addresses are not routed externally.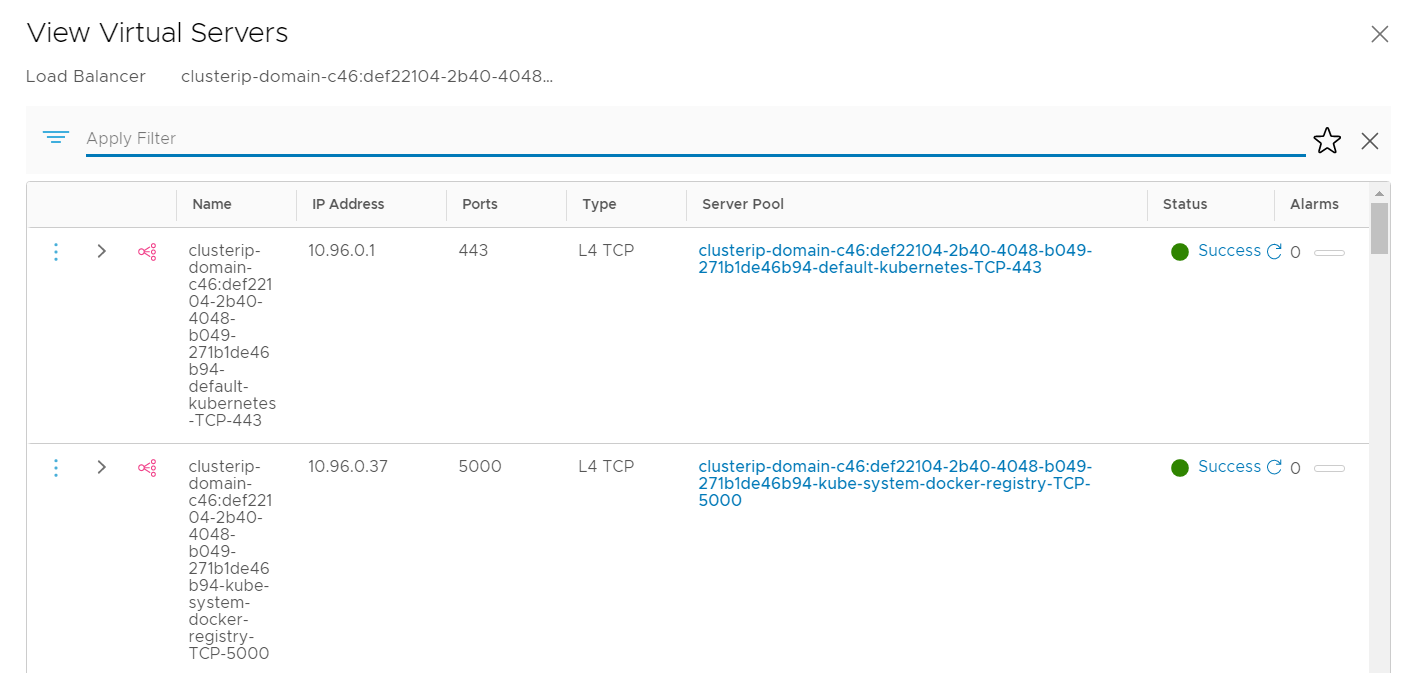
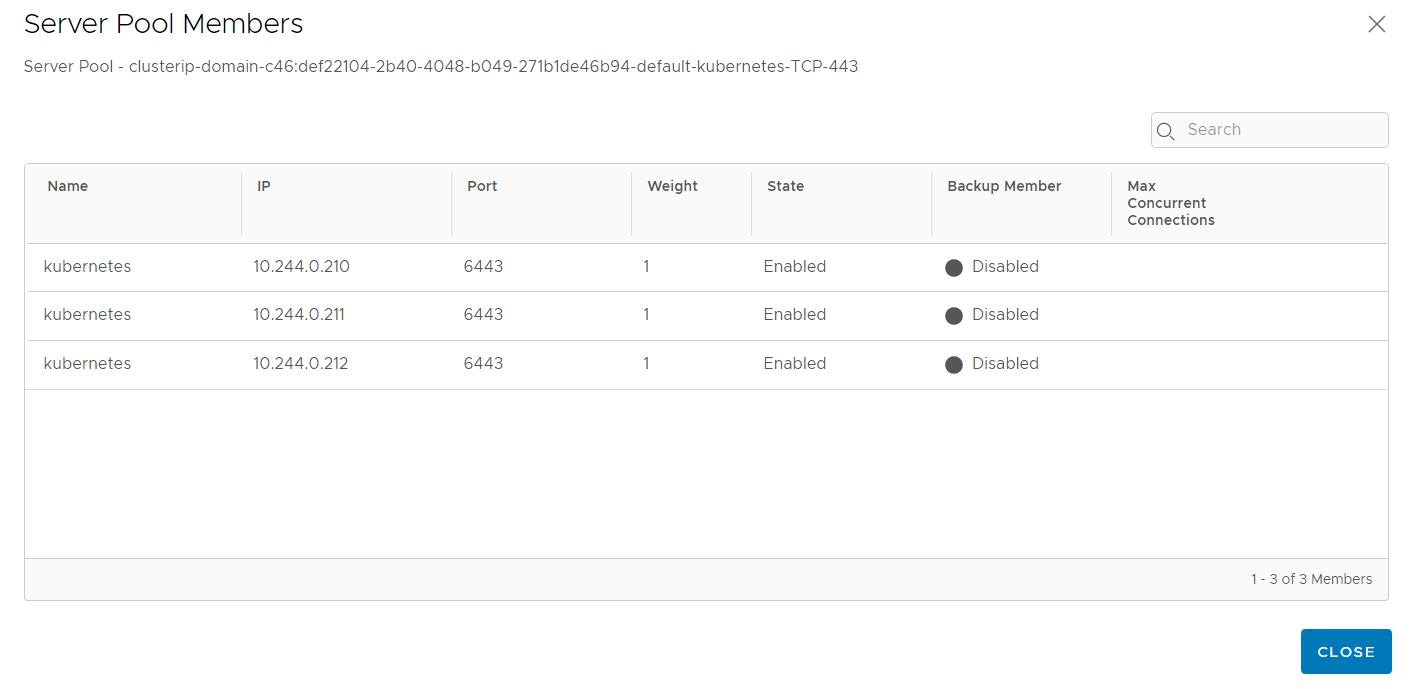
Each Virtual Server has pool members from the POD CIDR range.
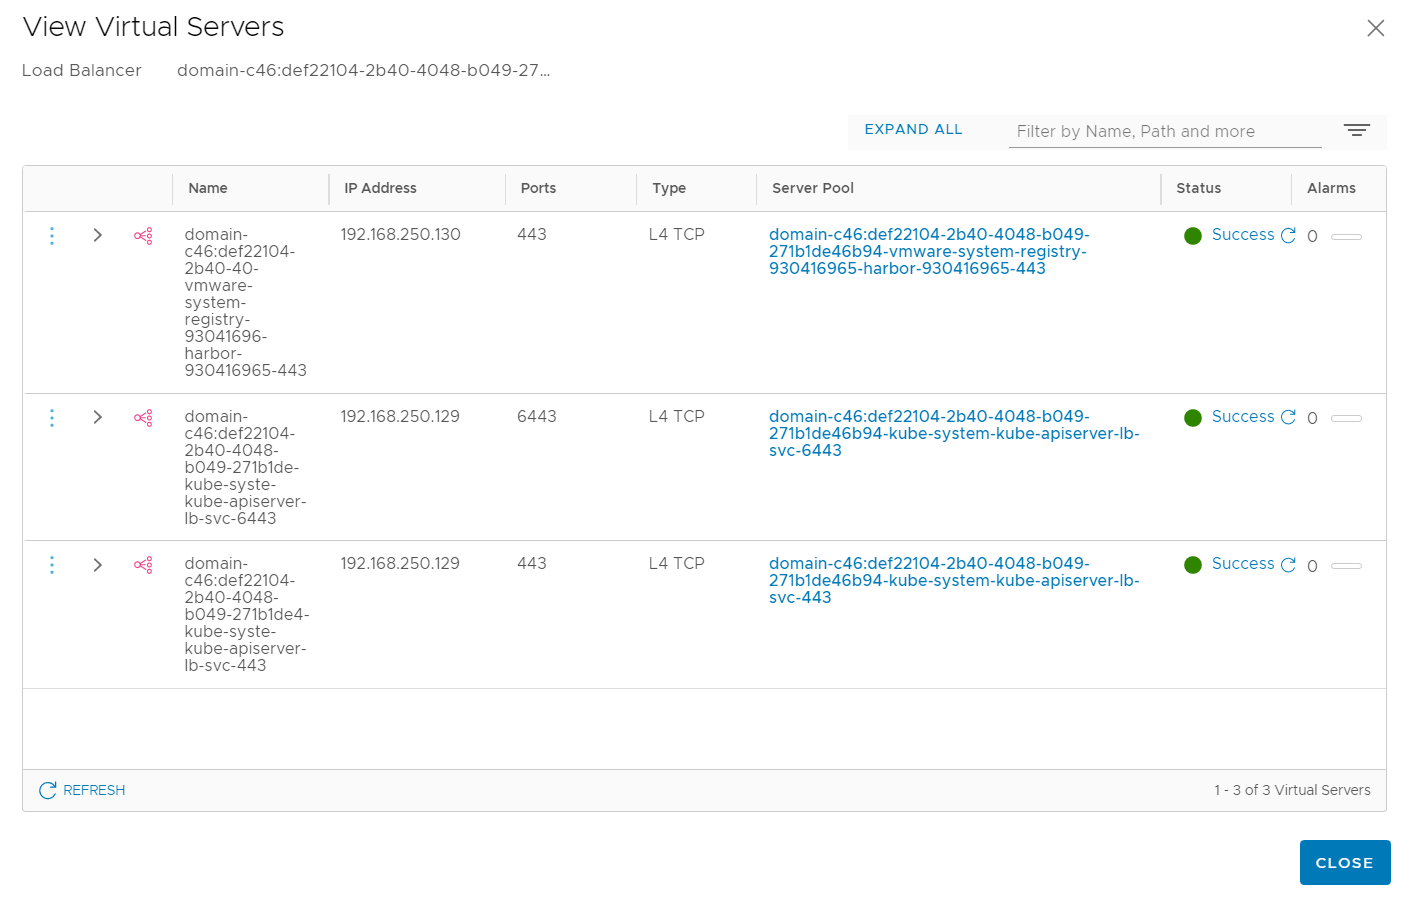
To make service available outside of Kubernetes, Service Load Balancers are used. Those Load Balancers use addresses from the Ingress CIDR range. With the default setup and Harbor activated, there are 3 Virtual Servers. Kubernetes API Server (192.168.250.129 Port 443 and 6443) where you connect to with kubectl, and Harbor (192.168.250.130).
vSphere with Kubernetes Guide |