 Step 3.2 from the official ESXi on ARM Fling guide describes the installation of Raspberry Pi Os just for the purpose of checking that the EEPROM is up-to-date. If you do not have a preinstalled Raspberry Pi Os, there is a quick alternative that allows you to speed up this step.
Instead of using Raspberry Pi Os to update the EEPROM you can use the Raspberry Pi 4 EEPROM boot recovery tool to get the latest version installed in less than 10 seconds.
There are two options to work with the recovery tool:
Option 1 - EEPROM Recovery Image from GitHub
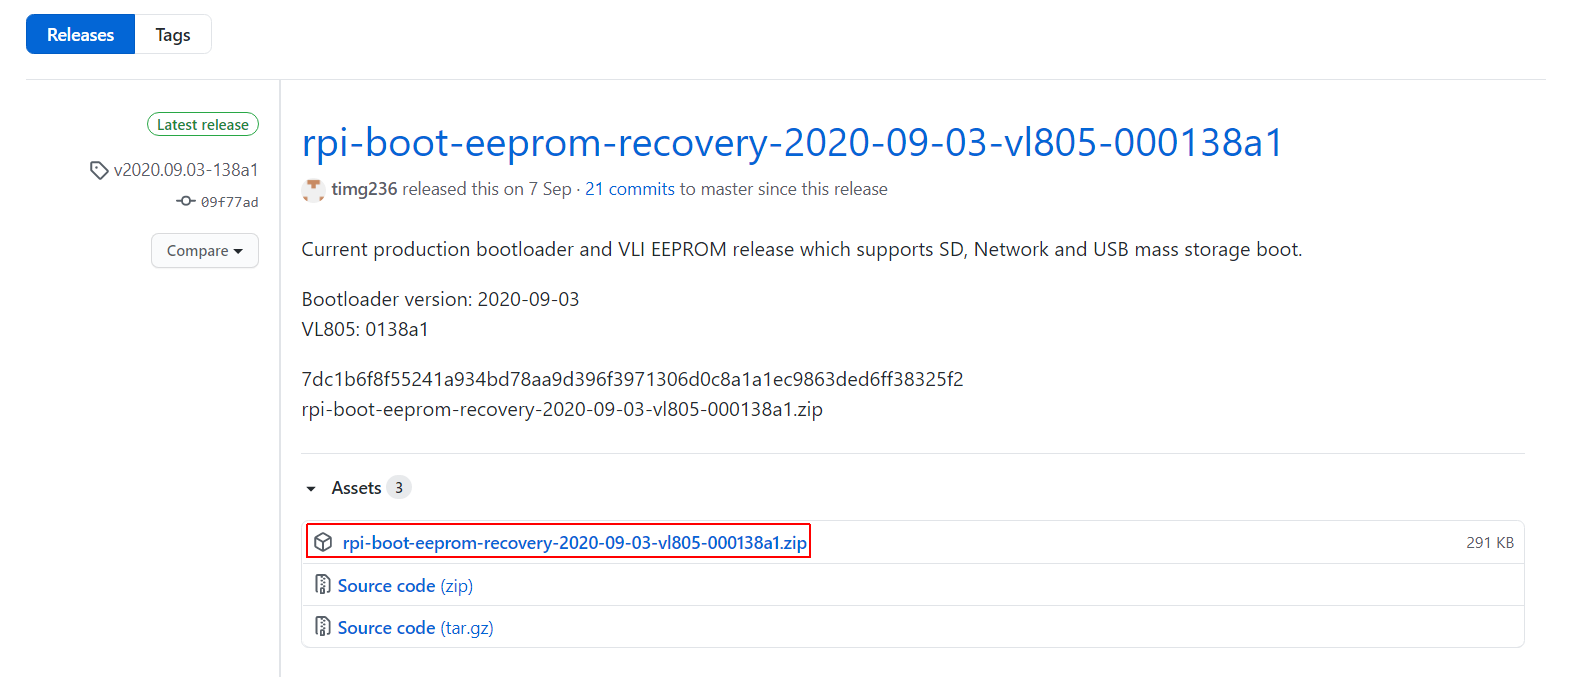
- Download the latest rpi-boot-eeprom-recovery release from GitHub.
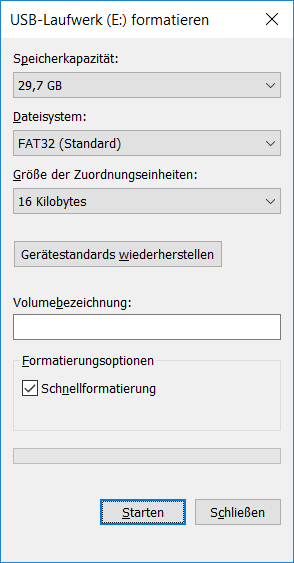
- Format an SD card with FAT32
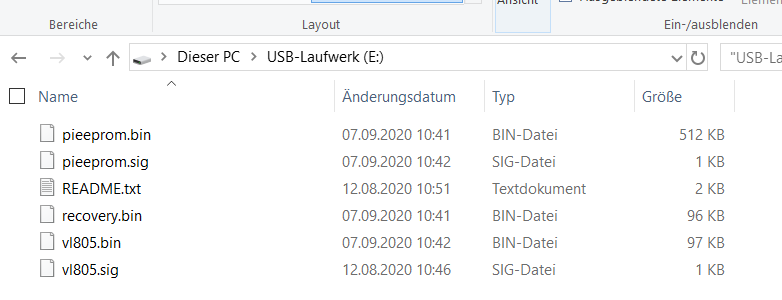
- Copy the content from the rpi-boot-eeprom-recovery archive to the FAT32 formatted SD card
- Remove the SD card from your PC
- Insert the SD card to your Raspberry Pi
- Power on Raspberry Pi
- Wait at least 10 seconds.
If successful, the green LED light will blink rapidly (forever), otherwise, an error pattern will be displayed. If an HDMI display is attached then the screen will display green for success or red if failure a failure occurs.
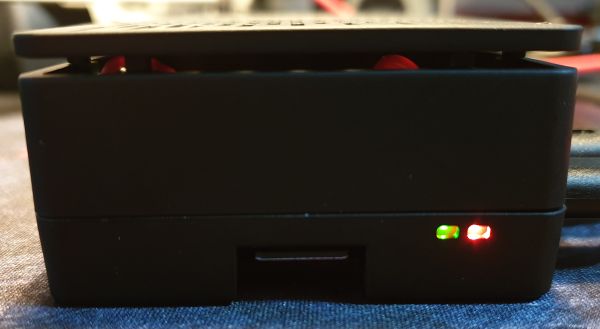
Raspberry Pi 4B - The LED is located next to the SD card slot.
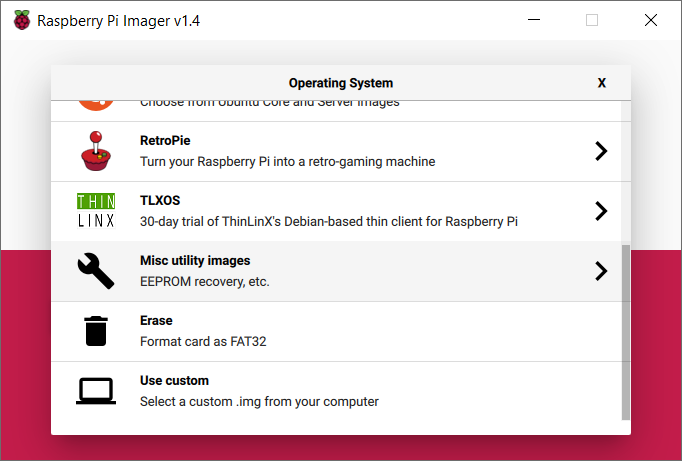
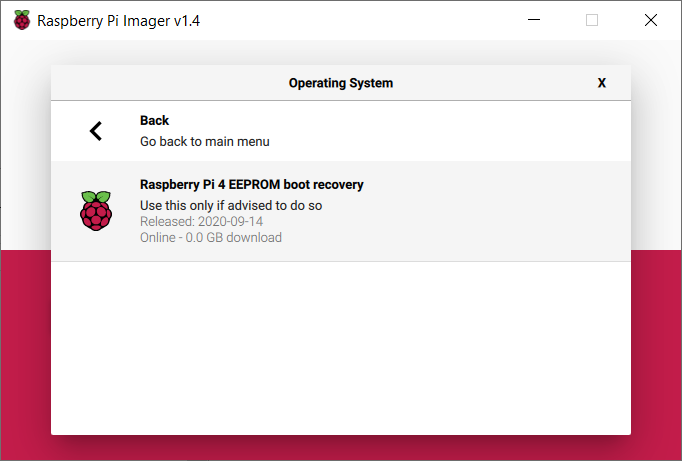
Option 2 - Raspberry Pi Imager
- Download and Install Raspberry Pi Imager
- Run Raspberry Pi Imager

- Click Choose OS
- Select Misc utility images
- Select Raspberry Pi 4 EEPROM boot recovery
- Select Choose SD... and select an SD card
- Click WRITE and wait until the Image has been written
- Remove the SD card from your PC
- Insert the SD card to your Raspberry Pi
- Power on Raspberry Pi
- Wait at least 10 seconds.
If successful, the green LED light will blink rapidly (forever), otherwise, an error pattern will be displayed. If an HDMI display is attached then the screen will display green for success or red if failure a failure occurs.