With the release of Cloud Director 10.2, VMware aims to make the deployment easier and more robust with a new deployment UI that includes error-checking. In previous versions, you had to provide the initial configuration with vAPP options during the OVA deployment. When there was a problem, which was very common, especially with the NFS share, you had to redeploy the system. Redeploying the appliance multiple times was was very time-consuming.
In Cloud Director 10.2, the operation has been split into 2 stages, as you know it from the vCenter Server. You first deploy the OVA with some basic settings that are not error-prone and then log into a web interface to do the actual Cloud Director configuration like setting up the NFS share and create the Administrator Account.
This article does a quick review of the installation using my OVF Helper Scripts and the new two-stage appliance system setup.
Step 1 - Deploy VMware Cloud Director 10.2 Virtual Appliance
Download: VMware Cloud Director 10.2 [Release Notes] [Download]
Deploy the OVA using the vSphere Web Client or PowerShell. If you want to use PowerShell, you can use my OVF Helper for Cloud Director 10.2 Template.
- Download VMware Cloud Director 10.2
- Go to OVF Helper for Cloud Director 10.2
- Copy the snippet to your favorite editor
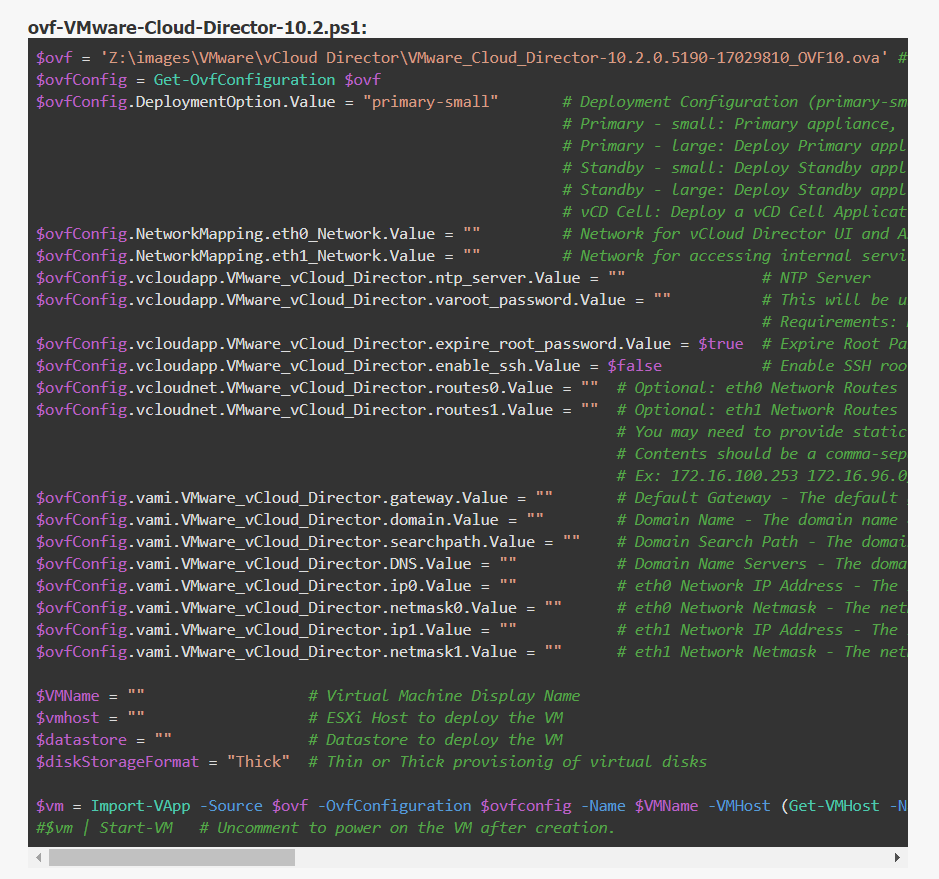
- Change the path to your local VCD OVA file
- Fill out the variables
- Connect to a vCenter Server using the Connect-VIServer command
- Run the script
- When finished, power On the Cloud Director Appliance
Step 2 - Configure VMware Cloud Director 10.2 Virtual Appliance
The initial configuration is done using the Cloud Directors Virtual Appliance Management Interface (VAMI).
Open https://[VCD-Address]:5480/
You should see the new Primary Appliance System Setup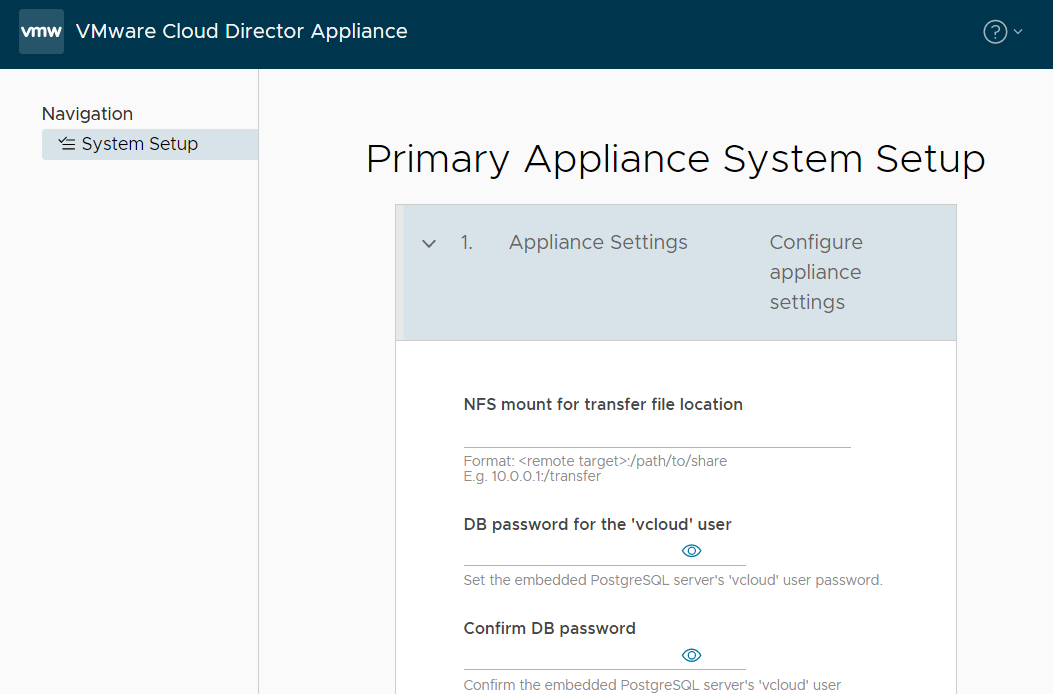
When you enter your NFS mount options, the Appliance will try to mount the NFS share immediately and provide an error message when the mount fails.

Fill out the form (NFS Share, DB Password, and Admin User, VCD Settings) and start the configuration.
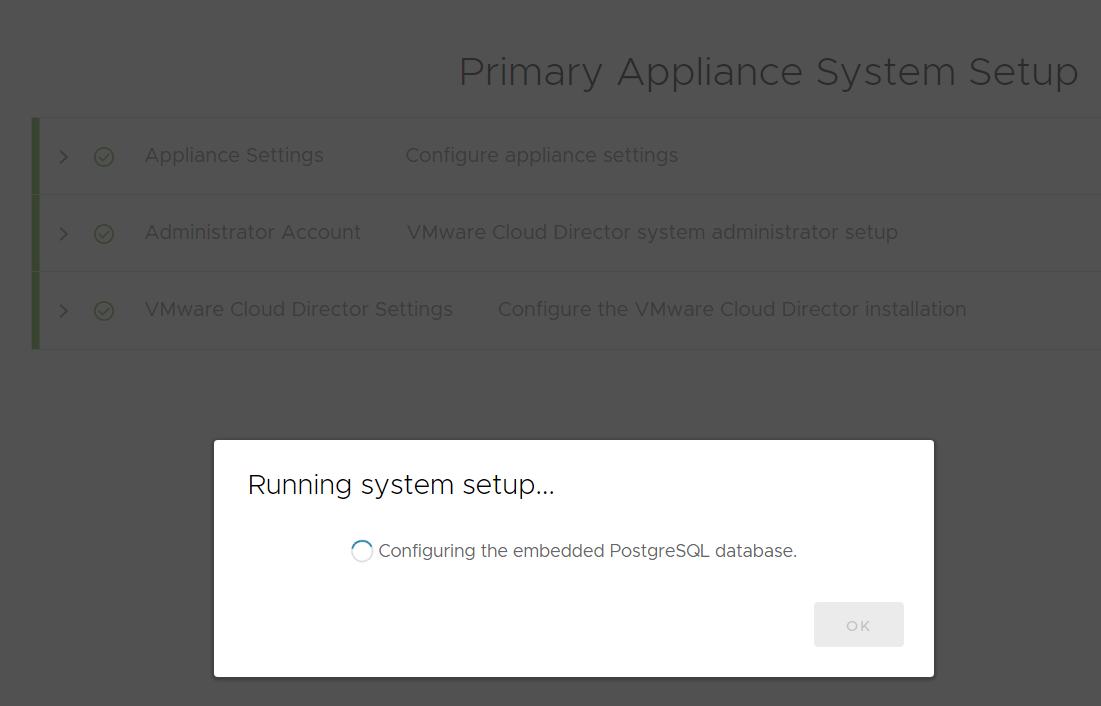
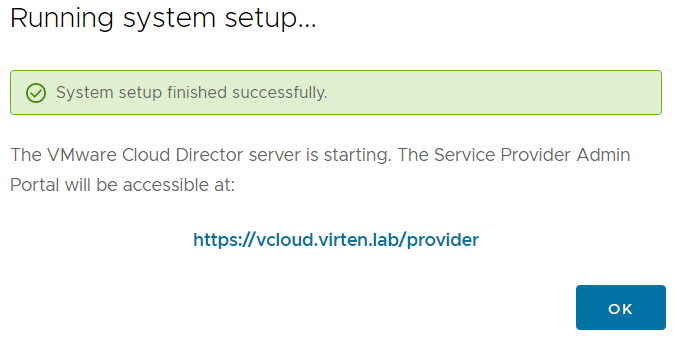
When the configuration is finished, you can access your Cloud Director instance: