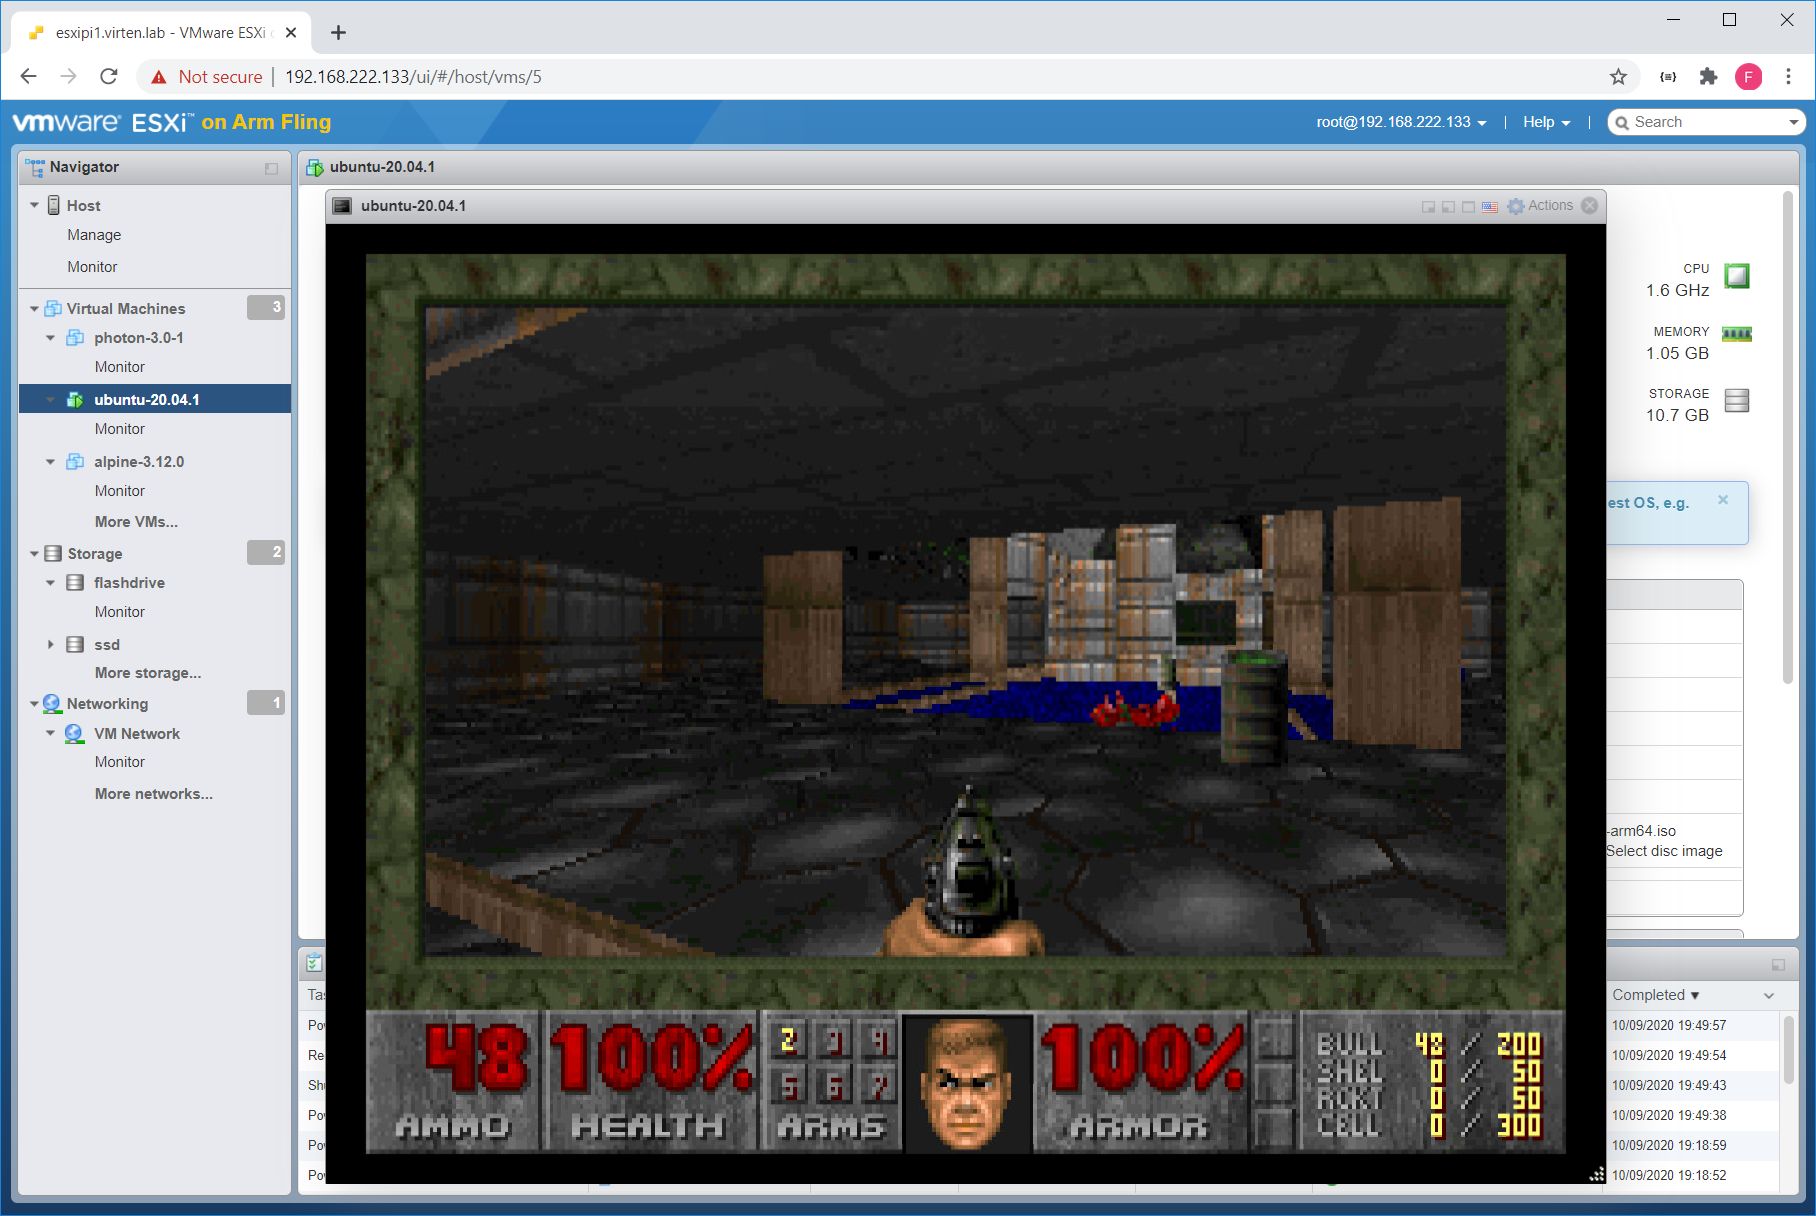
Yesterday I posted a screenshot on Twitter showing Doom that runs on top of the ESXi on ARM Fling, installed on a Raspberry Pi. I got a few requests to share instructions, so here is a quick article. It's not that complicated as there isn't much of a difference compared to running Doom on standard Linux. However, I think it's a good point to get started with your first ARM64 VM on running on top of ESXi.

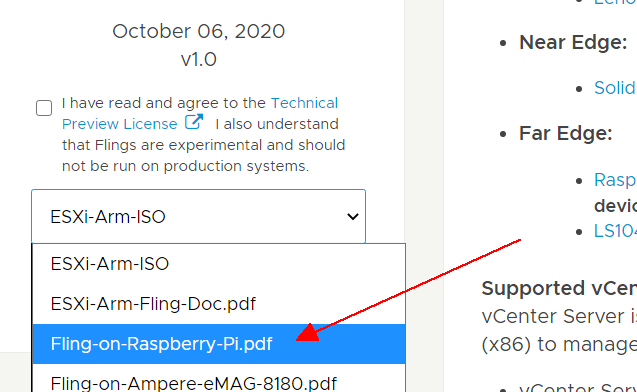
At first, you have to get ESXi Installed on your Raspberry Pi. I'll not cover the installation here as it doesn't make sense to me. Just get the instruction from the Fling page which is comprehensive and easy to follow. Don't try starting to install ESXi without the Instructions, even if you are an experienced vSphere Admin.
Download: ESXi on ARM Fling (Installation media and Instructions included)

When ESXi is installed and you have access to the ESXi HTML5 Interface, you can install your first ARM-based Virtual Machine. In this exmaple, I've used Ubuntu 20.04.1 LTS.
Download: Ubuntu Server for ARM (ubuntu-20.04.1-live-server-arm64.iso)
Upload the .iso to your Datastore. I woulnd't recommend to use the Flash Thumb Drive where ESXi is installed. I've used an M.2 to USB Adapter as Datastore. To do so, you have to disable the USB Arbitrator.
~ # /etc/init.d/usbarbitrator stop
~ # chkconfig usbarbitrator off
After that, reboot your ESXi and create a Datastore from the HTML5 Interface. If you have problems with the USB Datastore creation, read this article for a more detailed guide.
Create a new Virtual Machine with the following specs:
- OS: Ubuntu Linux (64-bit)
- 2 vCPU
- 2 GB Memory
- CD Drive: Datastore ISO File (ubuntu-20.04.1-live-server-arm64.iso)
Leave everything else at it's default. Don't mess around with SCSI or IDE Controllers as it might stop the VM from booting. Just stick with the default, SATA.
Power on the Virtual Machine, the Ubuntu installer should start. The Installation is pretty straight forward, just follow the instructions.
When the installation is finished, login and install a few additional packages:
# sudo apt-get install libsdl-mixer1.2-dev libsdl-net1.2-dev gcc make unzip
Download and compile Chocolate Doom
# wget wget https://www.chocolate-doom.org/downloads/2.2.1/chocolate-doom-2.2.1.tar.gz
# tar xzf chocolate-doom-2.2.1.tar.gz
# cd chocolate-doom-2.2.1/
# ./configure make
# sudo make install
Download the Doom WAD file. This is the original share version of Doom. You might want to search the internet for other WAD files to get the full or modified versions.
Hint: Doom was the first game that was designed from the ground up to allow players to extend the game. For that reason, game data such as levels, graphics, sound effects, and music are stored separately from the game engine, in WAD files. WAD stands for "Where's All the Data?"
# wget http://www.doomworld.com/3ddownloads/ports/shareware_doom_iwad.zip
# unzip shareware_doom_iwad.zip
Now it's time to play Doom!
# chocolate-doom -iwad DOOM1.WAD

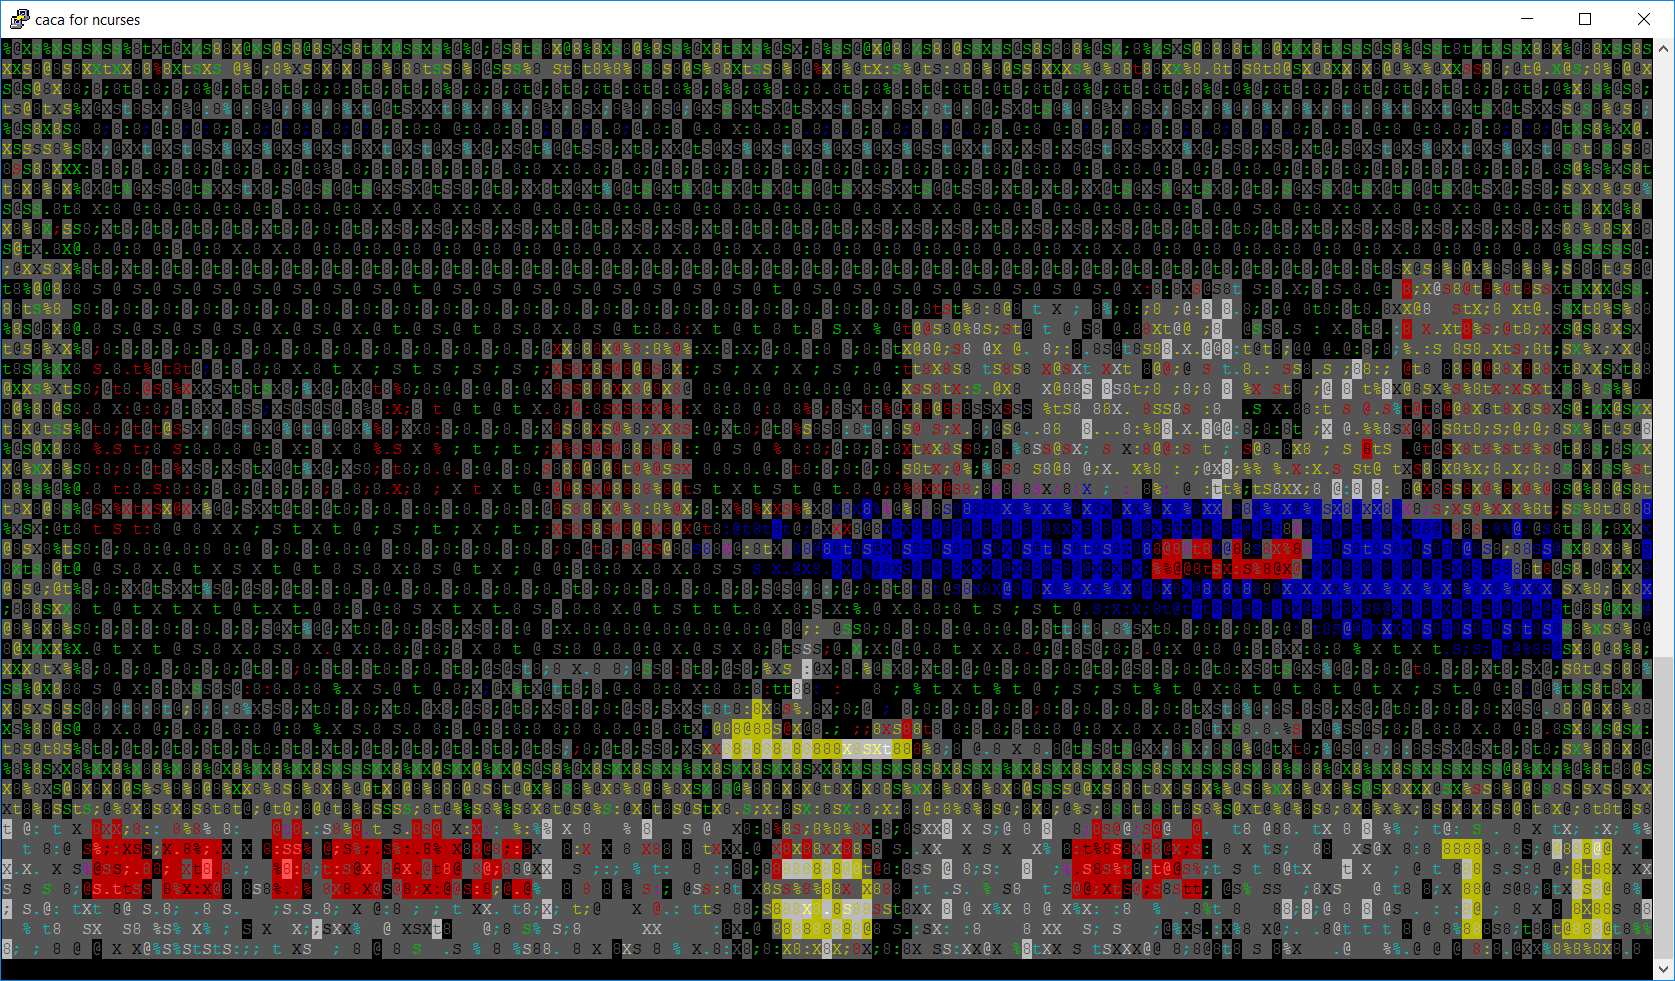
Whoops! It turns out that you can actually play doom over SSH. But you surely want to have the desktop version. Ubuntu Server has no desktop installed, but you can easily install it later. Just get tasksel, run tasksel and select Ubuntu desktop.
# sudo apt-get install tasksel
# sudo tasksel

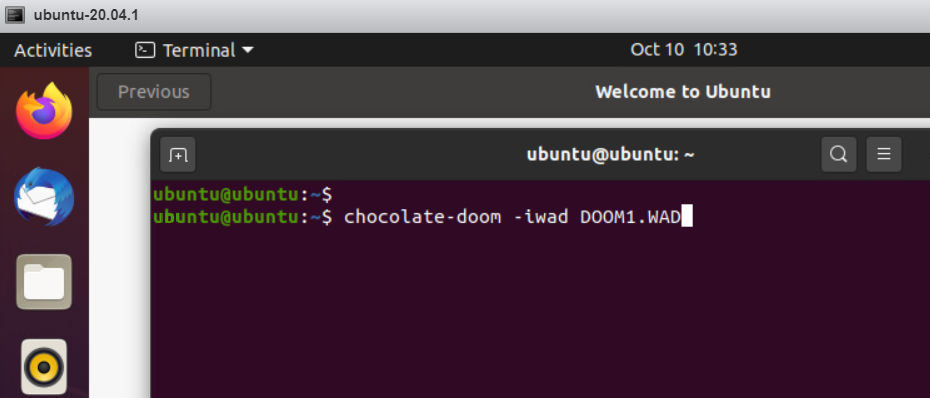
The installation takes a while. When it finished, reboot the system and it should come up with a desktop automatically. Login, launch a Terminal and run Doom.
# cd chocolate-doom-2.2.1/
# chocolate-doom -iwad DOOM1.WAD


Did sound work?