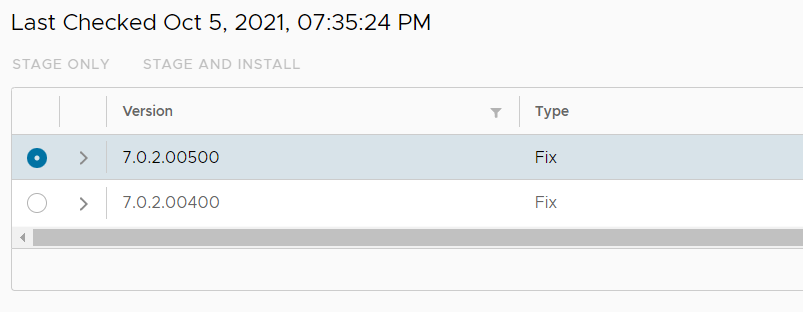
Patching the vCenter Server Appliance in vSphere 7.0 has become a lucky bag. When you try to update using the vCenters VAMI, you either have greyed out STAGE ONLY and STAGE AND INSTALL buttons:
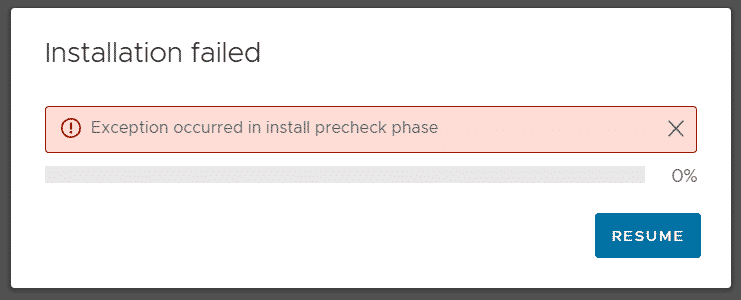
The installation fails with "Exception occurred in install precheck phase" errors, rendering the VAMI unusable:
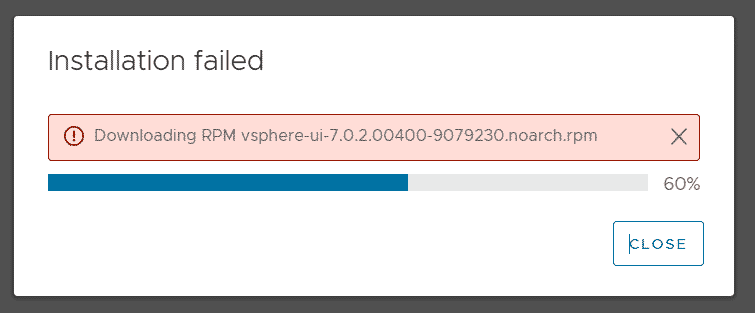
Or the installation gets stuck on Downloading RPM vsphere-ui-[version].rpm:
There are a couple of tips to solve those issues, like William Lam's article and VMware's official KB83145, but none of them did solve all Issues for me. Both articles are effectively cleaning up stale updates by deleting files on the vCenter Server Appliance. The steps are very easy, even with basic Linux skills.
- Close the VAMI or navigate away from the Update menu
- SSH to the VCSA and login as root
- Launch the BASH shell by typing "shell"
- Remove old update files:
rm /etc/applmgmt/appliance/software_update_state.conf
rm /storage/db/patching.db*
rm -rf /storage/core/software-update/updates
rm -rf /storage/updatemgr/software-*
rm -r /storage/core/software-update/*
- Login to VAMI
- Navigate to Update
- Click Check Updates
- Press Stage and Install to start the update
If the update still fails, there is another update mechanism, which I'm currently using for most of my vCenter 7.0 installation - Update using Patch ISO. This method also has the advantage that you only have to download the update once, and you don't need the vCenter to be connected to the Internet.
Update vCenter Server 7.0 using Patch ISO
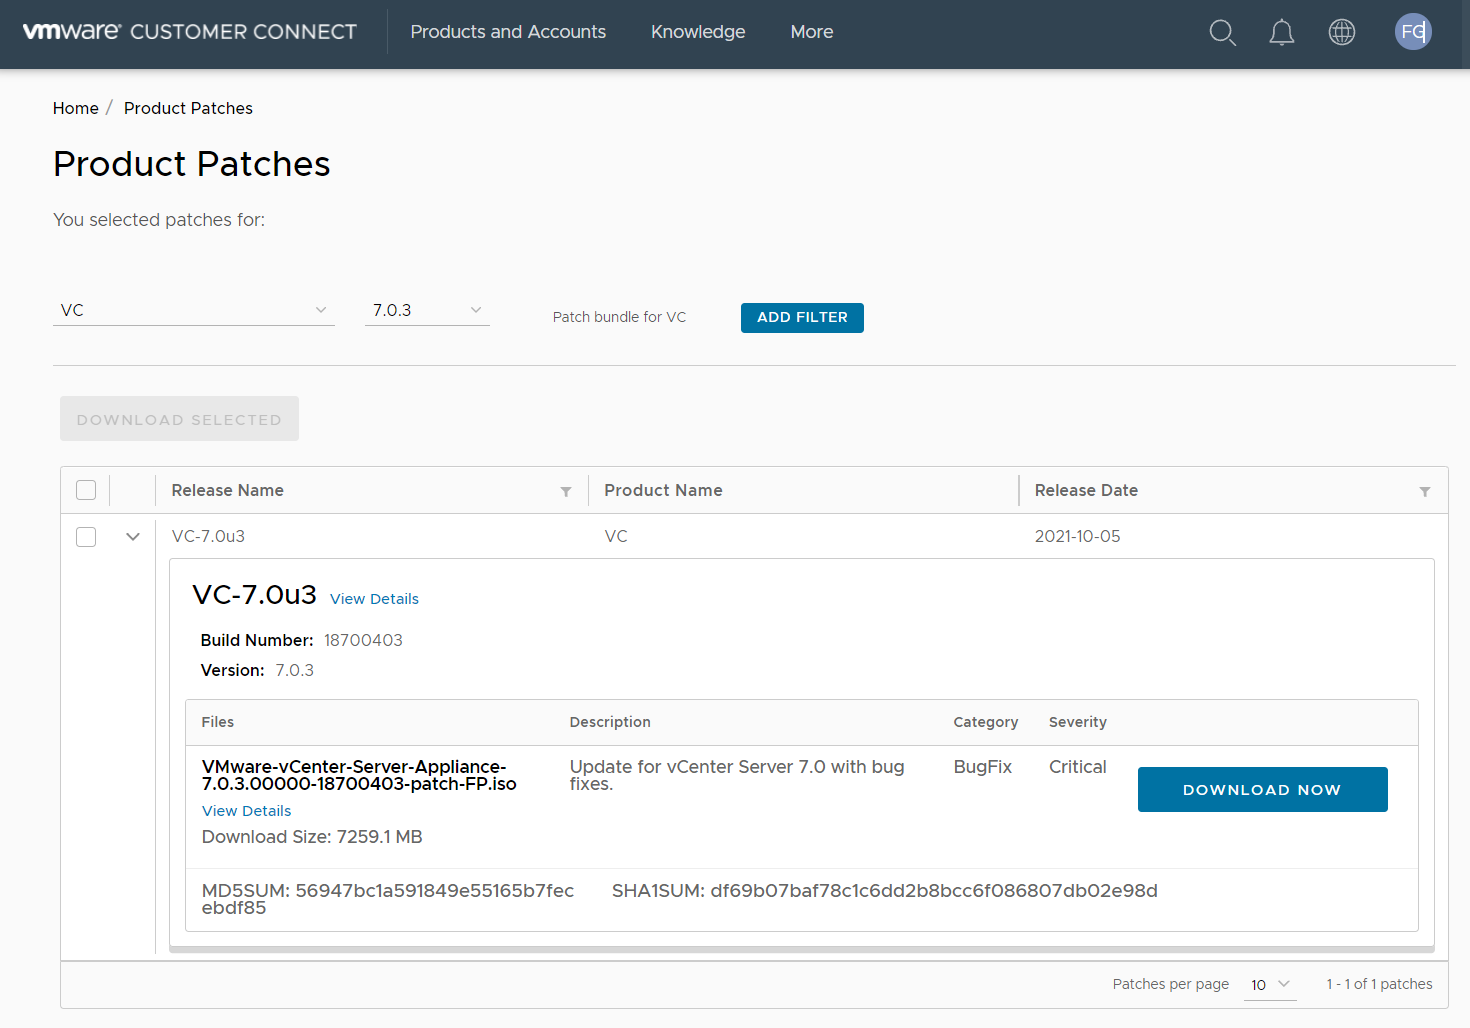
- Open VMware Product Patches (My VMware - VMware Customer Connect account required)
- Select VC and Version and press SEARCH
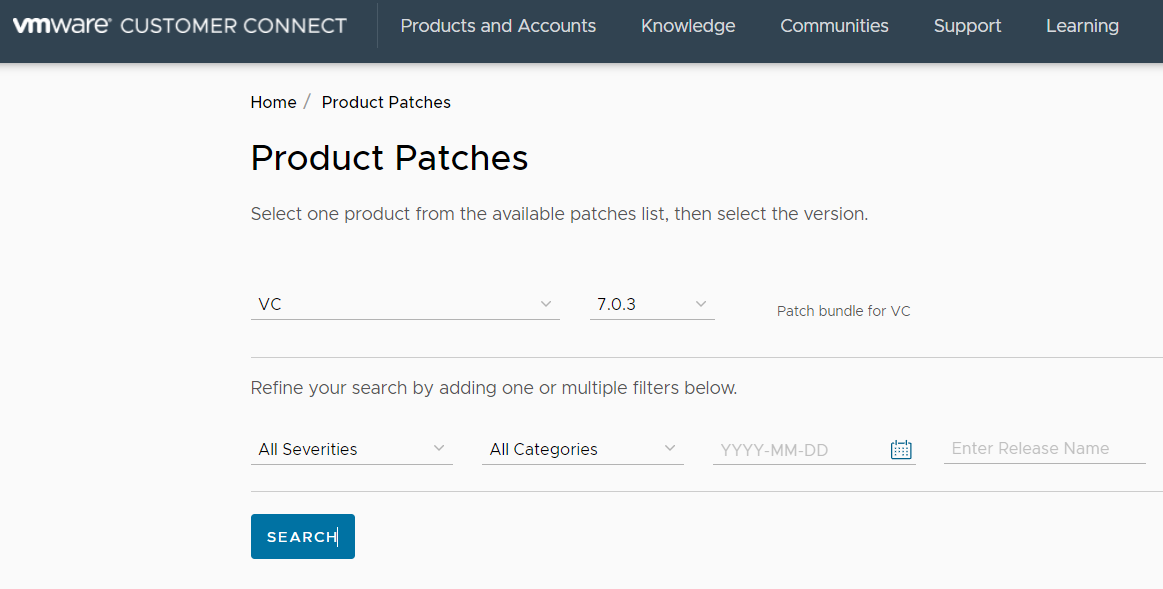
- Download the patch ISO (VMware-vCenter-Server-Appliance-7.0.3.00000-18700403-patch-FP.iso ins this example)
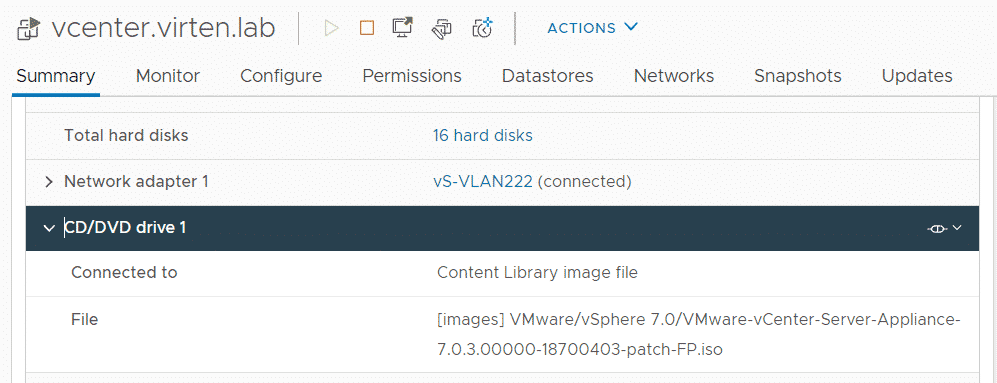
- Copy the .iso to a datastore where the ESXi running the vCenter Server has access to
- Use the vSphere Client to mount the .iso to the vCenter VM.Warning: There are different Images available for each vCenter version. Make sure to use the Patch ISO, not the Installer ISO. The Patch ISO should end with "-patch-FP.iso".
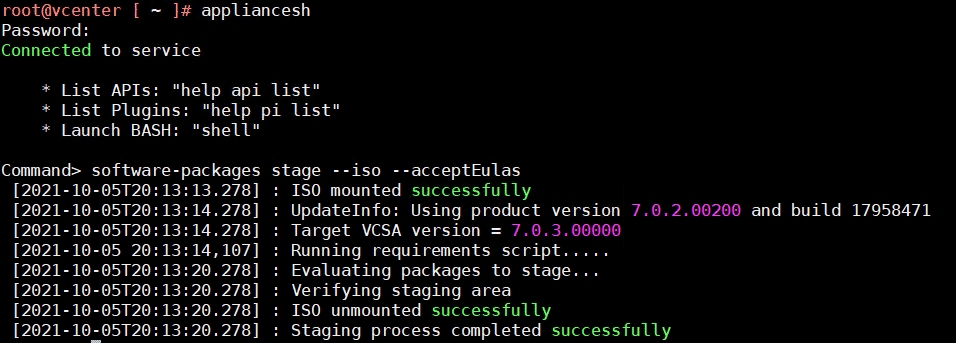
- SSH to the vCenter Server Appliance and login as root to get the Appliance Shell.
- Optional: If you've changed the default shell to BASH, you can open Appliance Shell with the appliancesh command
# appliancesh
- Stage the Image
Command> software-packages stage --iso --acceptEulas
- Start the update
Command> software-packages install --staged

- After the update has been finished, reboot the vCenter Server Appliance
Command> shutdown reboot -r "Update 7.0.3"
- Unmount the ISO using the vSphere Client
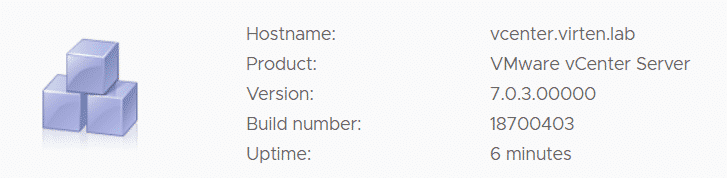
- When the vCenter is back up, verify the Version using VAMI or vSphere client
Note: When you've previously tried to update using VAMI, you might still see failed update messages. Just SSH to the VCSA and use the commands mentioned earlier to clean update files:
rm /etc/applmgmt/appliance/software_update_state.conf
rm /storage/db/patching.db*
rm -rf /storage/core/software-update/updates
rm -rf /storage/updatemgr/software-*
rm -r /storage/core/software-update/*
Hi,
today I try update VCSA to 7 U3, all works, but my account (member of administrators) cannot use Lifecycle Manager, I see error like this> Authentication failed, Lifecycle Manager server could not be contacted.
Lifecycle Manager working only with administrator@vsphere.local accout.
Has anybody same issue?
Regards,
Roman
Yes, I've heard many reports that Lifecycle Manager is broken in 7.0U3 when you are logged in with AD. Local Accounts should work.
Here is the official KB in regards to LM AD Issues: https://kb.vmware.com/s/article/85962
thanks for info
Roman
Hello,
My VCSA 7.0 in stuck while updating by the following message:
"Installation failed Staging was canceled"
I can not login to the vcenter management server (port 5480) and the above message appers continously. Also the SSH is disabled and I can not login to VCSA throught SSH.
do ou have any idea?
Best Regards.