This week VMware has published a new version of its Virtual SAN Beta. There are a lot of features that does not necessary need a real physical lab. To get into the initial setup, scale out and failover functionality and the various command line options, a virtual lab is definitely a reasonable option. As you might know, a SSD is required for vSAN. Instead of emulating an SSD, I am going to use a real SSD with the new SSD Passthrough feature in VMware Workstation 10.
Requirements
- Physical Host with at least 16GB Memory
- VMware Workstation 10
- vSAN Beta Key
- ESXi Image (VMware-VMvisor-Installer-vsanbetaref-1439689.x86_64.iso)
- vCenter Server Appliance (VMware-vCenter-Server-Appliance-5.5.0.10000-1440531_OVF10.ova)
Configuration
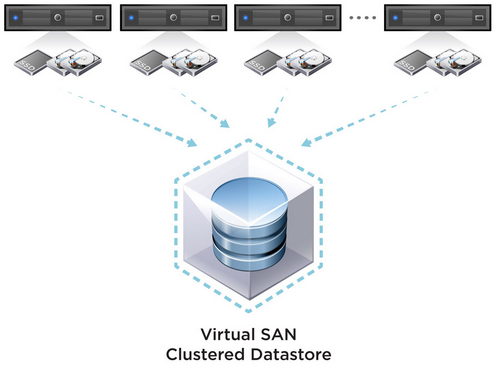
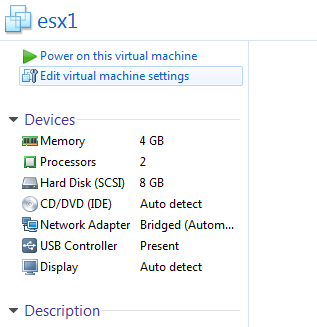
A vCenter Server and at least 3 ESXi Hosts are required to build a Virtual SAN. Each ESXi Host has the following configuration:
- 2 vCPU
- 4GB Memory
- 8GB Disk for ESXi 5.5
- 100GB Disk for vSAN
- 10GB SSD
- Static IP-Address
ESXi Installation
- Open VMware Workstation
- Create a New Virtual Machine

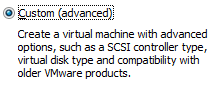
- Select Custom (advanced)
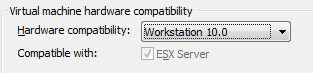
- Select Workstation 10.0 Hardware compatibility
- Select I will install the operating system later

- Select VMware ESXi 5 as guest operating system

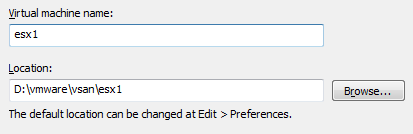
- Set a name and location
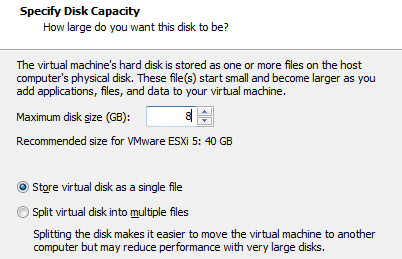
- Set the capacity to 8GB and select Store virtual disk as a single file.
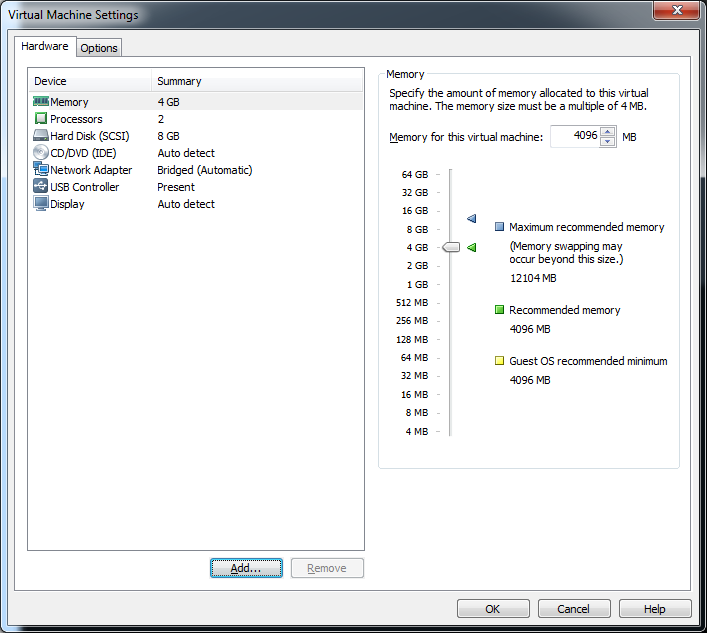
- After finishing the virtual machine creation, click on Edit virtual machine settings
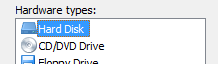
- Click Add to add a second virtual Disk
- Select Hard Disk as Hardware Type
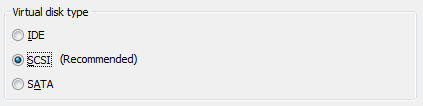
- Set the Disk Type to SCSI
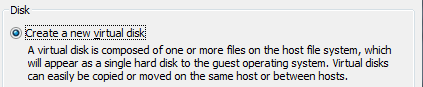
- Select Create a new virtual disk
- Set the capacity to 100GB and select Store virtual disk as a single file.
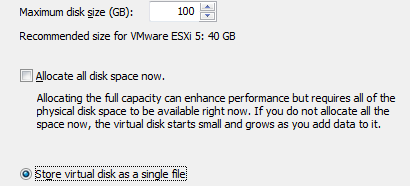
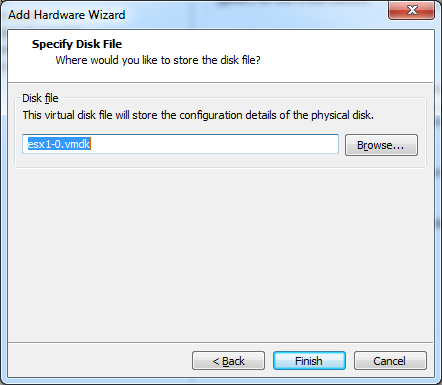
- Specify the Disk location. This will be the vSAN Disk. Do not change the location, just click Finish.

- Add a third virtual Disk
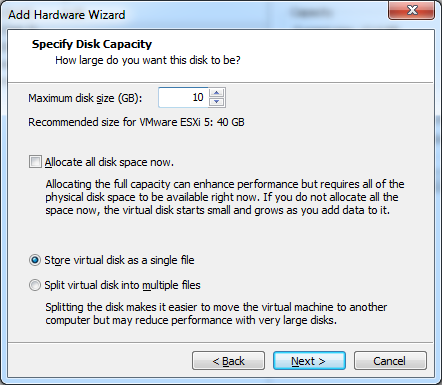
- Set the capacity to 10GB and select Store virtual disk as a single file.
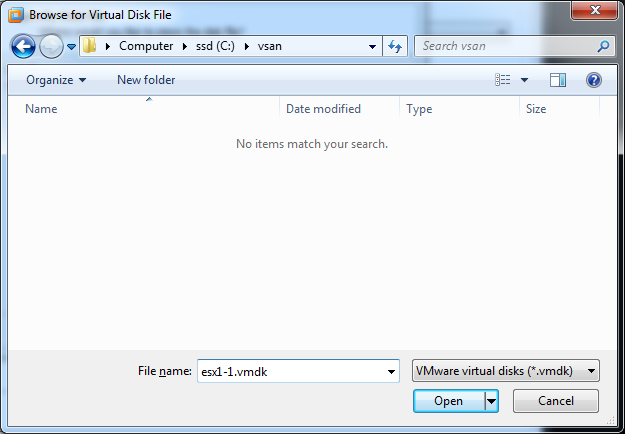
- The location for the third disk has to be changed to the local SSD. Select Browse...
- Specify the path to where you local SSD is mounted
- Mount the ESXi Installer ISO (VMware-VMvisor-Installer-vsanbetaref-1439689.x86_64.iso)
- Power-on the virtual machine and install ESXi
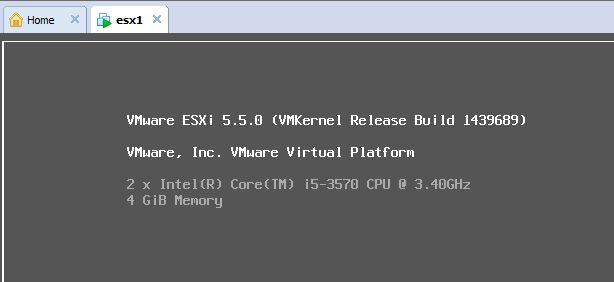
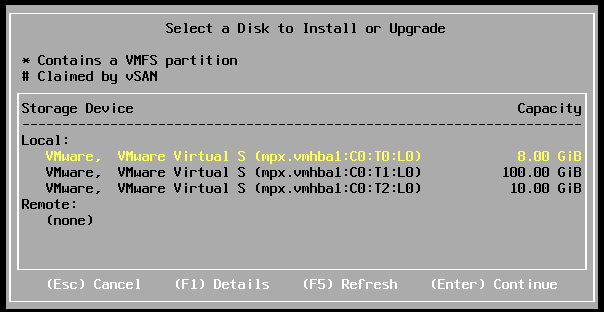
- Make sure to select the 8GB disk for the installation
- After the installation, boot the ESXi Host and configure a static IP-Address (vSAN does not work well with DHCP)

- Repeat above steps two times to get 3 ESXi Hosts
VCSA Installation
- Open VMware Workstation
- Navigate to File -> Open...
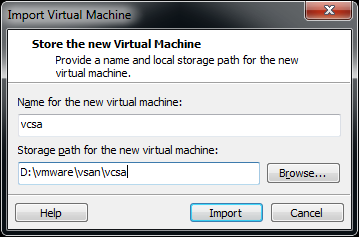
- Select the VCSA Image (VMware-vCenter-Server-Appliance-5.5.0.10000-1440531_OVF10.ova)

- Specify the Path where the Appliance should be deployed
- Power on the Appliance
- When you have a DHCP Server, the the vCenter Server Appliance boots up. If you do not have a DHCP Server, you have to specify the IP address.
- Open the vCenter Server Appliance Configuration Webpage (https://<IP>:5480)
- Login as root (Password: vmware)
- Accept the License Agreement
- Select Configure with default settings

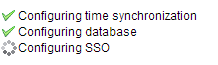
- Press Start

- The virtual appliance does now configure itself. This may take a while.
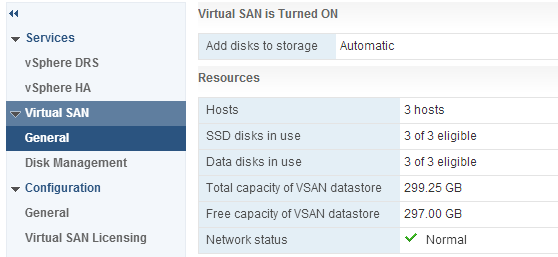
vSAN Configuration
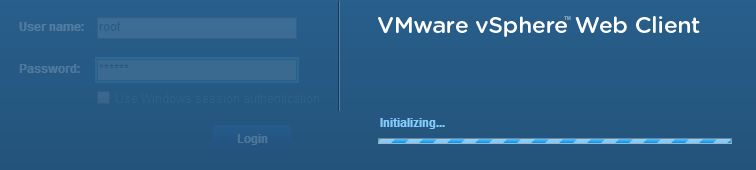
- When the installation is finished, you can access the vSphere Web Client (https://<IP>:9443/vsphere-client/)
- Login as root (Password: vmware)
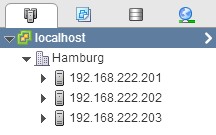
- Add the 3 ESXi to the vCenter Server at Datacenter level. Do not add them to a cluster yet.
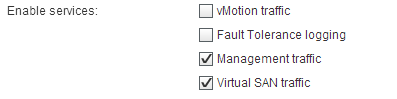
- Activate Virtual SAN traffic on all 3 hosts
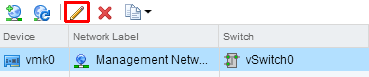
- Click on the host within the web client
- Navigate to Manage -> Networking -> VMkernel Adapters
- Select vmk0
- Click Edit Settings
- Activate Virtual SAN traffic
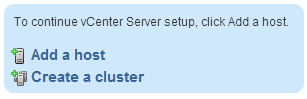
- Select your Datacenter object
- On the Getting started tab click Create a cluster
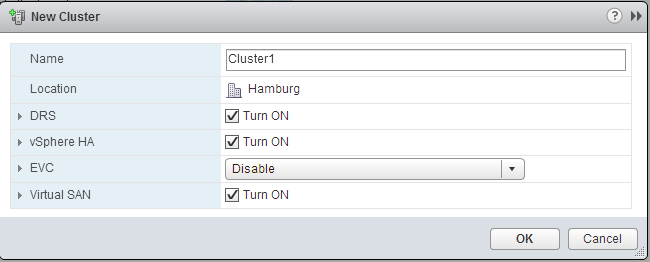
- Give the cluster a name and activate Virtual SAN, DRS and vSphere HA
- Move the ESXi Hosts into the Cluster
- Select the Cluster Object
- Navigate to Manage -> Settings -> Virtual SAN Licensing
- Click Assign License Key
- Enter you Key
- The virtual SAN Configuration is finished. You can now start to deploy virtual machines.
Additional Hints
Install VMware Tools on each ESXi Host for better manageability.
Dear Sir,
Sorry to bother you!!
I follow your article to try to build a VSAN LAB but I am encounter failure in Non-SSD point.
My lab environment is win7 with VMware WS11 on intel i5 CPU / 32GB RAM / 512GB SSD PC.
I found my disks is all SSD type, so my problem is how to create a non-ssd disk due to VMware workstation's passthrough feature?
Sir, if you know how to fix, please let me know.
Thanks for sharing this best knowledge.
Regards,
Peter
You can manually set the Virtual Disk Type in the .vmx configuration file.
"scsiX:Y.virtualSSD = 1" means SSD
"scsiX:Y.virtualSSD = 0" means no SSD
The feature was introduced to mark disks as SSD, but it also works the other way around.
Such a fab site. thanks